
Last updated November 17, 2026
 Driveway & pavers
 Kitchen remodeling
 Bathroom remodeling
 Home additions & ADU
 Roofing
 Windows & doors
 Fence
Free written scope consultation - allowances, timeline, and change-order rules on paper before a single trade is scheduled
Driveway & Pavers Maintenance Schedule: What to Do and When
Homeowners who seal their pavers every year aren’t protecting them. They’re trapping moisture inside the slab and joint bed, and in a wet, high-UV climate like ours that trapped moisture accelerates joint sand breakdown, feeds efflorescence, and eventually causes the surface spalling they were trying to prevent. We’ve pulled up pavers in The Hammocks that were sealed three years in a row and found the joint sand reduced to mush underneath. This guide lays out the maintenance calendar that actually fits South Florida – wet season, dry season, and hurricane season – plus the sealing frequency, joint sand refill method, and pressure washing limits that keep a paver driveway alive instead of slowly killing it. Most of what you’ll read here contradicts the generic four-season advice you’ll find online, because a driveway in Miami-Dade County faces a different set of threats than one in Ohio.
Quick Answer
A paver driveway in South Florida should be inspected and joint sand topped off twice a year (once at the end of the wet season in October, once in spring), pressure washed at 1,200-1,500 PSI with a wide fan tip no more than once a year, and sealed every 3-5 years with a breathable, UV-stable acrylic sealer – not every year. Hurricane season (June through November) needs its own prep checklist. Everything else is inspection, weed pulling, and drainage clearing.
Styles & brands we work with
- Kitchen remodeling
- Bathroom remodeling
- Home additions & ADU
- Roofing
- Windows & doors
- Driveway & pavers
- Fence
Table of Contents
- Why The Hammocks Climate Breaks the Generic Maintenance Calendar
- The Month-by-Month Paver Maintenance Calendar for The Hammocks
- How Often Should You Seal Pavers in South Florida?
- Inspecting Joint Sand After the Wet Season (and the Refill Method That Sticks)
- Pressure Washing: What It Fixes and What It Destroys
- Hurricane Season Prep for Paver Driveways
- Which Maintenance Tasks Keep Your Paver Warranty Valid
- Common Mistakes to Avoid
- When to Call a Professional
- Frequently Asked Questions
Why The Hammocks Climate Breaks the Generic Maintenance Calendar
Standard paver maintenance advice is written for a climate with four moderate seasons and a winter freeze. The Hammocks has two seasons: a wet season from roughly May through October with near-daily afternoon thunderstorms, and a dry season from November through April with lower humidity and cooler nights. Add hurricane season, which overlaps the wet season from June through November, and you get a completely different stress profile.
What actually wears out pavers here:
- Thermal shock from afternoon rain on sun-heated pavers. A driveway surface can hit 140°F+ in direct July sun. When a 3 p.m. thunderstorm drops 70°F rainwater on it, the surface contracts faster than the core. Over a decade that cycling stresses the joints and the sealer film.
- Sustained moisture in the joint bed. Wet-season humidity stays above 70% for weeks. Polymeric sand that cures hard and rigid in dry climates can stay semi-soft here and wash out under sheet flow.
- High UV index. South Florida’s UV index routinely climbs past 10 in summer. Cheap sealers break down from UV faster than they do from foot traffic.
- Hurricane-driven debris and flood-borne sediment. Storm runoff carries fine silt into the joints, which blocks drainage and grows weeds.
- Efflorescence. The white salt bloom that appears on concrete pavers is worse in humid climates because moisture wicks up through the slab and evaporates at the surface, leaving mineral deposits behind.
The result: a paver driveway in The Hammocks needs more joint maintenance and less sealer than the national average, and it needs a hurricane checklist most guides never mention. If you’re pricing out a new or replacement driveway, our Driveway & Pavers in The Hammocks page covers base prep and material selection specifically for this sub-tropical climate.
The Month-by-Month Paver Maintenance Calendar for The Hammocks
This calendar is built around our actual seasons, not a Nordic four-season template. Print it, stick it on the fridge, or set calendar reminders for the first weekend of each month listed.
January – February (Dry Season, Cool Nights)
Low humidity means fewer weeds and slower joint degradation. This is inspection season. Walk the driveway with a hose running and watch how water flows. Note low spots, pooled water, and settled areas. Check the joint sand line – it should sit just below the paver chamfer, not flush or recessed. Early February is your last good window to reseal before UV and heat ramp up; sealer needs 48-72 hours of no rain to cure, and dry season gives you that.
March – April (Dry Season, Rising Heat)
Pull weeds now, before they seed. Edges next to lawn and plant beds are the worst offenders. Re-sand any joints that have dropped below the chamfer. April is when we start seeing the first spalling or pop-outs on driveways that took winter stress, so do a spot check on the whole surface – look for hollow-sounding pavers by tapping with a screwdriver handle.
May (Pre-Wet Season Prep)
The wet season starts. Clear all drainage: gutters, swales, French drains, and the grate at the bottom of the driveway. Any paver joints that washed out over dry season need topping off before the first heavy rain. This is the last month for pressure washing if you’re going to do it – let the surface dry well before the daily afternoon storms begin.
June – August (Wet Season, Peak UV)
Inspect after each major rain event. Watch for: efflorescence blooming, joint sand tracking onto the sidewalk, and standing water that lingers more than 2 hours. Pull weeds monthly. Do NOT seal this time of year. Humidity, high surface temperatures, and afternoon rain make proper curing almost impossible, and a sealer applied under wet conditions clouds and peels. The best thing you can do June-August is leave the surface alone and keep it draining.
September (Peak Hurricane Season)
This is the month The Hammocks gets its closest calls. Remove anything that could become airborne (patio furniture, planters, trash cans) and check that driveway drainage won’t push storm runoff toward the house. Look for loose pavers – if any rock when you step on them, they need resetting before a storm can pull water under them. See the dedicated hurricane section below.
October – November (Wet Season Ends)
The critical maintenance window. This is when you do the post-wet-season joint sand inspection and refill, since the previous five months of rain have stripped sand from the lowest parts of the driveway. Efflorescence treatment (if present) goes here too. Light pressure washing, fall weed pull, and a full surface inspection. Most of the year’s real damage gets caught in this window.
December (Dry Season, Cool Dry Air)
Re-check drainage for anything loosened over hurricane season. Clean gutters again. If your driveway is due for sealing, December and January are the best months for it – cool, dry, and stable – though sealer application should always be confirmed against an actual weather forecast for 72 hours of dry, above-60°F weather.
How Often Should You Seal Pavers in South Florida?
Every 3-5 years, not every year. And not every paver driveway should be sealed at all. This is the single most misunderstood thing about paver maintenance in The Hammocks.
Why sealing every year is a mistake here
Most sealers are acrylic films designed to sit on the surface and protect against UV, staining, and abrasion. In a high-moisture climate, sealers that don’t fully cure before the next rain layer moisture under the film. That trapped moisture is exactly what causes the surface spalling and efflorescence bloom people try to prevent by sealing more often. We’ve seen driveways sealed annually for five years that have worse surface condition than unsealed driveways installed at the same time.
The correct cadence for The Hammocks
Check for re-seal readiness by sprinkling a cup of water on the driveway. If it beads tightly, the sealer is intact – you don’t need to re-seal. If it soaks in within 5 seconds, the sealer has worn off and it’s time. That test will tell you 3 years in most of The Hammocks, sometimes 4 on driveways under shade or lighter traffic. Only seal in the dry season.
Sealer chemistry: what to use and what to avoid
- Use: Breathable, UV-stabilized water-based acrylic sealers formulated for high-UV climates. Look for the label to state UV-stabilized and outdoor-rated. Penetrating siloxane-based sealers are a good choice on concrete pavers where you want protection without a surface film.
- Avoid: Solvent-based film sealers, cheap “wet look” acrylics without UV stabilizers (they yellow and peel in 18 months here), and any sealer not labeled for high-traffic exterior use.
- Two thin coats, not one thick coat. A heavy coat is what fails. Roll or spray on thin, let it dry completely between coats, then 48 hours of no rain to cure.
Inspecting Joint Sand After the Wet Season (and the Refill Method That Sticks)
Post-wet-season joint sand inspection is the single most important maintenance task in The Hammocks, and it’s the one most homeowners skip. When joints lose sand, pavers lose interlock, water gets under the pavers, base material washes away, and you get settling, rocking, and joint movement. Refilling properly – not just dumping sand on top – is what stops the annual washout cycle.
How to inspect joint sand
- Choose a dry morning in late October after at least 48 hours without rain.
- Pick three test spots – top of the driveway, mid-slope, and the bottom edge where water runs out. These are the three worst spots for sand loss.
- Press a #2 pencil tip into the joint sand perpendicular to the paver edge. If it sinks more than 1/4″ from the top of the paver, that joint needs refill.
- Walk the whole driveway and note rocks, hollow pavers, and any joints wider than 3/8″.
Refill method that actually sticks
- Wait for a 24-hour dry window. Wet joints reject new sand.
- Sand must be dry. Do not open the bag the night before.
- Use polymeric sand rated for high-moisture climates. Traditional mason sand is fine for a base fill in dry climates but washes out here within one wet season. For The Hammocks, we recommend a polymeric sand labeled for wide joints and wet climates.
- Pour sand over the surface and sweep it into the joints with a soft-bristle push broom – not a stiff shop broom that scrubs the surface.
- Compact the surface with a plate compactor fitted with a rubber mat (rental, or ask your contractor). This is the step most homeowners skip and it’s why their refills wash out again.
- Sweep the surface clean. Then use a hose with a fine mist to gently activate the polymeric sand – never a hard spray that blows sand out of the joints.
- Stay off the driveway for 24 hours, and expect 48-72 hours before it fully sets.
Pressure Washing: What It Fixes and What It Destroys
Pressure washing removes the black mildew streaks, dirt, and algae that make a paver driveway look old. It also strips joint sand, blasts the sealer off, and fractures the surface of softer concrete pavers if done wrong. The difference between useful and destructive comes down to three things: pressure, tip angle, and detergent.
The PSI ceiling for pavers
Stay at or below 1,500 PSI. For concrete pavers, 1,200-1,500 PSI with the appropriate tip is a safe cleaning range. Above 2,000 PSI you’re stripping joint sand, weakening interlock, and accelerating surface wear. Many driveway cleaning services run at 3,000+ PSI on concrete pavers because it’s faster – and then the driveway needs a full joint refill within a month.
The tip angle rule
Use a 25° or 40° fan tip, never a 0° (red) or 15° (yellow) tip on pavers. The narrow tips concentrate force and etch the paver surface. Hold the wand at a consistent 30-45° angle to the surface, not perpendicular, and keep the wand moving at a steady pace. Overlap strokes by about 50%.
Detergent rules
- Use a mild, pH-neutral concrete or paver cleaner. Pre-wet the surface first, apply cleaner at the lowest dilution the label allows, dwell for the label-recommended time, then rinse thoroughly.
- Avoid muriatic acid on colored pavers. It strips integral color and dulls sealer.
- Avoid bleach-heavy solutions on the surface – they kill the algae but accelerate color fading on integrally colored pavers.
- Never pressure wash a freshly sealed surface (within 30 days of sealant application) – contact the contractor who sealed it first.
Frequency
Once a year for most The Hammocks driveways, in spring or late fall – not both. Under heavy oak or palm shading, you may need twice. Every additional wash shortens joint sand life, so more washing is not better cleaning.
Hurricane Season Prep for Paver Driveways
Hurricane season runs June 1 through November 30, with peak activity from mid-August through October. The Hammocks sits in Miami-Dade County’s wind-borne debris region, and your driveway is often the lowest point in the yard – which means it takes the runoff. Here’s what to do before a named storm is closing in.
Two weeks out (before watches are issued)
- Clear drains, swales, and gutters. Backed-up gutters push water onto the driveway and can undermine base material.
- Stone, potted plants, and anything that could become airborne should have a home – not on the pavers during the storm.
- Inspect the perimeter where the driveway meets the garage slab. Any separation wider than 1/8″ should be filled with an exterior-grade sealant before water gets a path inside.
- If any pavers rock when you step on them, get them reset now. A loose paver under storm surge becomes a projectile.
48 hours out (watch issued)
- Move cars, patio furniture, planters, and yard equipment off the driveway.
- Do not lay sandbags directly on pavers if you can avoid it – use plywood as a base so the weight distributes and doesn’t scratch.
- Take photos of the driveway condition for insurance purposes.
After the storm
- Walk the driveway before driving on it. Look for shifted pavers, missing joint sand, and sediment deposits.
- Rinse heavy silt off with a hose (not a pressure washer) and let it dry.
- Do the joint sand inspection from the previous section – storm runoff is the single biggest cause of joint sand loss all year.
- Any rocking or separated pavers should be reset before you resume normal use. If the storm damage is significant, get an insurance-safe written assessment before doing any DIY fixes.
Which Maintenance Tasks Keep Your Paver Warranty Valid
Every paver warranty has maintenance conditions buried in the fine print. Most homeowners never read them, and then their claim gets denied because they didn’t meet the maintenance terms. Here’s what actually matters.
What most paver warranties require
- Sealing within a set window. Many manufacturers require initial sealing within 30-90 days of installation, and re-sealing at a manufacturer-specified interval (usually every 3-5 years). Sealing more often than specified is not a warranty violation, but it doesn’t extend coverage.
- Joint sand maintenance. Warranties often specify that joints must be filled and maintained. Letting joints completely empty for a season is grounds for denial on load-bearing and settling claims.
- Proper cleaning methods. Pressure washing above the manufacturer’s stated PSI ceiling, or use of acid-based cleaners, voids surface and color warranty elements on many brands.
- Snow and ice exclusions. Not often relevant here, but check anyway – if you’re moving pavers from a cold-climate installation.
- Notification timelines. Most warranties require written notice of defects within a specific window after discovery. Photograph everything.
What resets or voids coverage
- Painting pavers or applying non-specified coatings.
- Heavy vehicle access (RVs, dump trailers, box trucks) on a residential-rated driveway.
- Cutting pavers after installation without manufacturer approval.
- Uneven surface load distribution from heavy objects parked for extended periods.
Save your installation paperwork. The single biggest reason claims get denied is that the homeowner can’t produce the installation date, the sealer brand used, or the maintenance records. Any product specified by a reputable installer should be documented in writing, and the maintenance requirements should be spelled out on paper, not just described verbally. That’s how we handle every driveway project – you get a written maintenance schedule with your written warranty.
Common Mistakes to Avoid
- Sealing every year. We’ve seen this dozens of times in The Hammocks, and it’s the fastest way to trap moisture and cause the spalling you’re trying to prevent. Look for the water bead test before you decide.
- Pressure washing above 1,500 PSI. Most concrete pavers are not designed for high-pressure cleaning. Above 1,500 PSI you’re stripping joint sand and etching the surface, and the driveway needs a joint refill within a month.
- Using mason sand to refill joints in a wet climate. Polymeric sand holds up far better here than traditional mason sand. In dry climates, mason sand is fine. In South Florida, it’s gone by August.
- Skipping the October joint sand inspection. This is the single most important maintenance task for The Hammocks pavers. Post-wet-season joints that go unfilled lead to settling and shifting that’s expensive to fix.
- Ignoring efflorescence for years. The white salt bloom on concrete pavers isn’t just cosmetic – it indicates moisture is wicking through the slab. If it’s persistent, the underlying drainage or base is the real problem.
- Parking heavy vehicles on a residential-rated driveway. A box truck, RV, or loaded dump trailer on driveway pavers rated for cars can settle the base and crack pavers. Keep heavy loads on the street.
- Not documenting maintenance. When a warranty claim comes up, installers ask for maintenance records. If you don’t have them, the claim is much harder to win.
When to Call a Professional
Some maintenance tasks are straightforward DIY. Others aren’t. Call a professional install team for any of the following:
- More than three or four rocking or shifting pavers – that’s usually a base failure, not a surface problem.
- Visible standing water that takes more than 2-3 hours to drain after a heavy rain.
- Persistent efflorescence that comes back within weeks of treatment.
- Any paver separation wider than 3/8″ between adjacent pavers.
- Re-sealing if your driveway hasn’t been sealed properly in more than 5 years – the surface needs inspection for readiness first.
- Post-storm assessment where damage may go back to insurance.
- Full joint sand refill on a driveway longer than about 60 feet, where proper compaction matters more than a homeowner can accomplish by hand.
Groundwork Construction Co. of The Hammocks offers free estimates in The Hammocks and serves the surrounding Miami-Dade communities. Our technicians have up to 12 years of experience with paver and driveway installations in South Florida climates, and every project is backed by our 730-Day Done Right Promise – if it’s not done right, we make it right. Call (844) 761-9356 for a free project estimate and design consultation; a live person answers, 24 hours a day.
Frequently Asked Questions
Every 3-5 years, not every year. Test by sprinkling water on the surface – if it beads tightly, the sealer is intact. If it soaks in within 5 seconds, it’s time to re-seal. Seal only in the dry season (November through April) when you can count on 48-72 hours of dry weather. Call (844) 761-9356 if you’re not sure your driveway is due – estimates are free.
Yes, at 1,200-1,500 PSI with a 25° or 40° fan tip, but never above 1,500 PSI on concrete pavers. Above that threshold you strip joint sand and etch the surface, and most homeowners overdo it with a rental unit running higher pressure. Stay on the safe side with a lower pressure setting, and always pre-wet and use a pH-neutral cleaner.
Because the wet season delivers sustained sheet flow across the driveway, and traditional mason sand can’t hold against that. Polymeric sand rated for wet climates holds up better. Refilling joints in the dry season (October-November is ideal) and compacting them with a plate compactor gives the best results.
Yes, mainly through runoff and joint sand loss rather than direct wind damage. Storm surge typically doesn’t reach most Hammocks driveways, but heavy rain strips joint sand, deposits silt, and can shift pavers where the base is weak. Do the post-storm inspection every season, and reset any rocking pavers before they become a projectile in the next storm.
Painting pavers, acid-based cleaners, pressure washing above the manufacturer’s PSI ceiling, allowing an RV or heavy truck on a residential driveway, and cutting pavers without manufacturer approval. Skipping required joint sand maintenance can also void coverage on settling and load-bearing claims. Save your written maintenance schedule and document every service.
Yes. Groundwork Construction Co. of The Hammocks offers free project estimates and design consultations, and we serve The Hammocks and the surrounding areas. Call (844) 761-9356 – a live person answers 24/7 – and we’ll do a full driveway inspection and put a written, upfront-priced recommendation together.
See the difference
 Before
 After
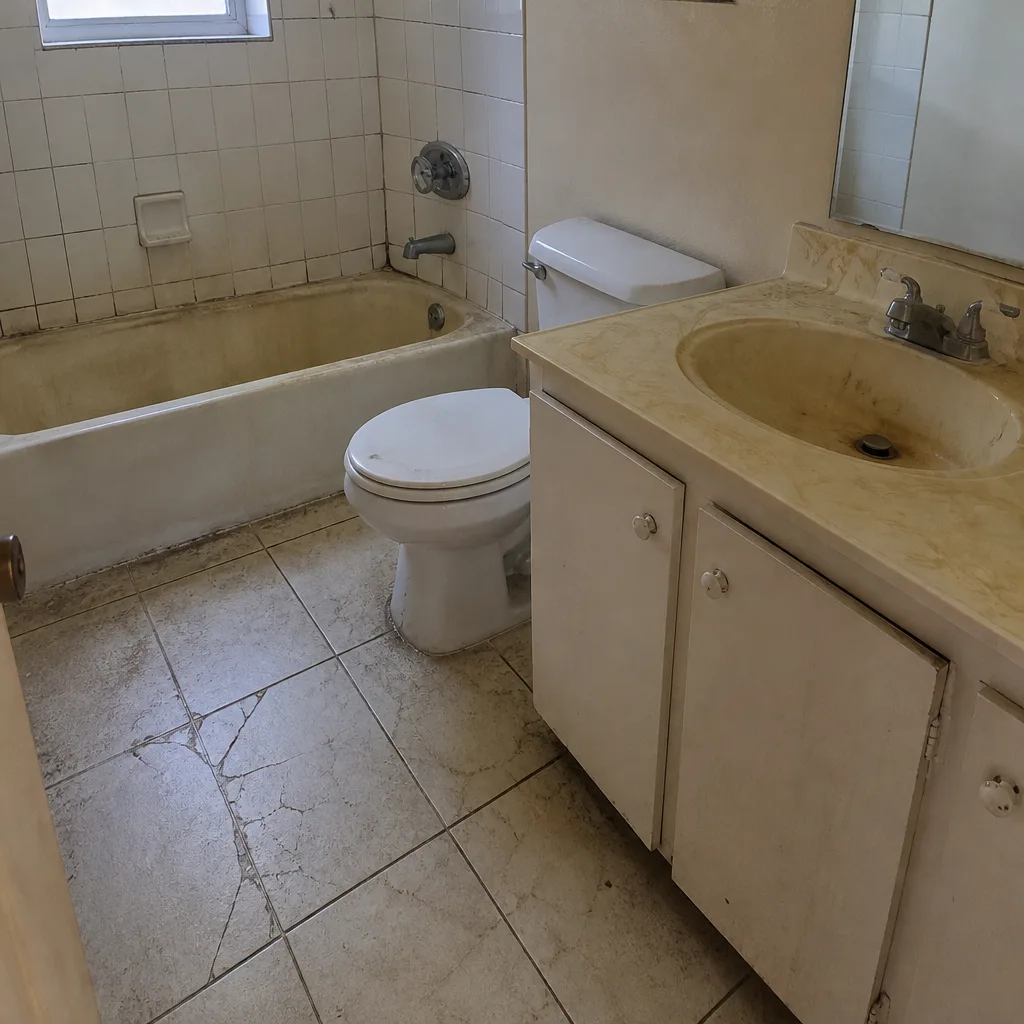 Before
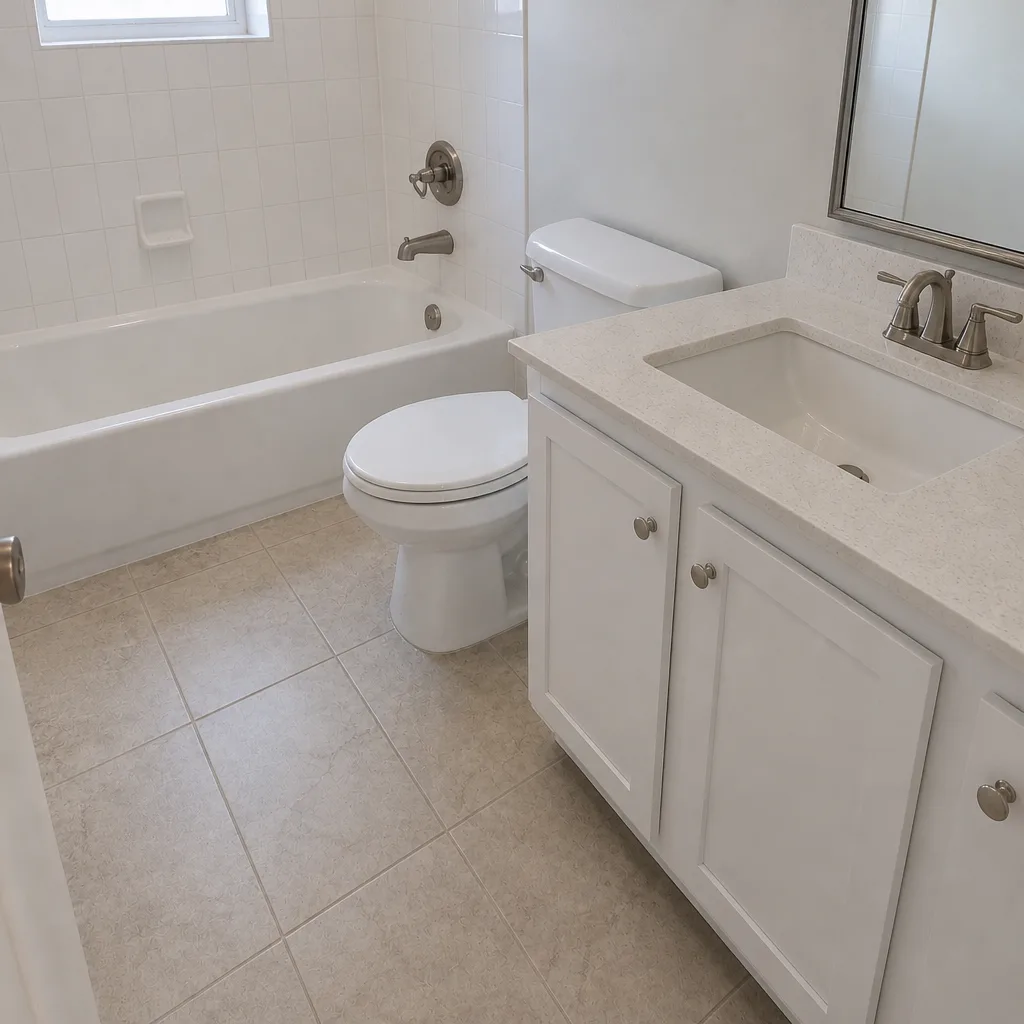 After
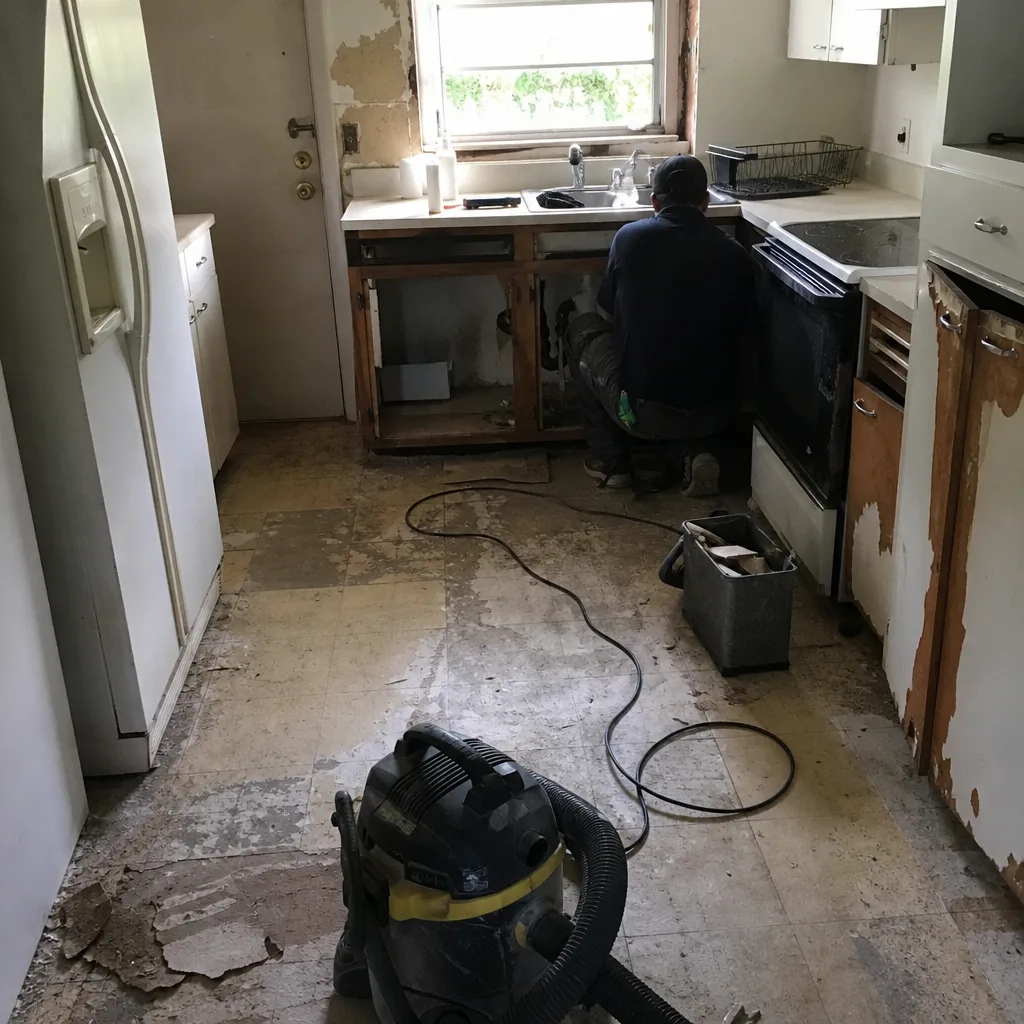 Before
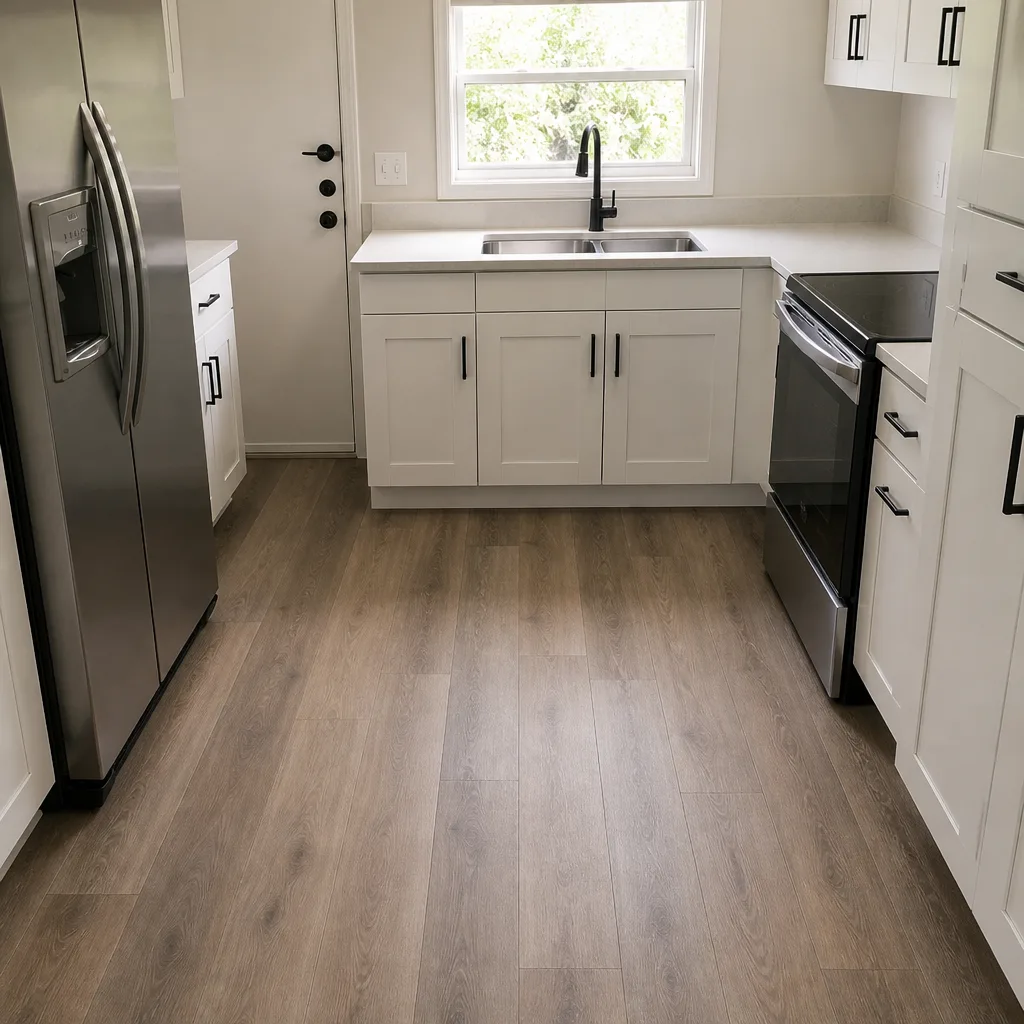 After
The Bottom Line
A paver driveway in The Hammocks doesn’t need more maintenance – it needs the right maintenance. Inspect and top off joint sand twice a year (October after the wet season, and late spring before the storms arrive). Pressure wash at 1,200-1,500 PSI once a year, no more. Seal every 3-5 years in the dry season with a UV-stable water-based sealer, never annually. Run the hurricane prep checklist before every named storm. Keep your documentation so your warranty holds up. And if the driveway needs major reset or a full installation, work with an installer who will put the schedule in writing – our Driveway & Pavers in The Hammocks service covers everything from base prep to post-install maintenance guidance. If you’re planning a broader exterior project, our fence installation in The Hammocks and home additions & ADU in The Hammocks pages will walk you through the related scope.
Contact
If your paver driveway needs an inspection, a joint sand refill, or a full replacement, call Groundwork Construction Co. of The Hammocks at (844) 761-9356 for a free estimate. We’ll do a full walkthrough of the driveway – base, joints, drainage, sealer condition – and give you a written recommendation with upfront pricing. No surprises, no hidden fees, and no voicemail – a real person picks up, 24/7. You can also start at our Groundwork Construction Co. of The Hammocks home page or explore our fence installation and home additions services if your maintenance work is turning into a bigger project. From foundation to finish line, we keep the whole house – not just the driveway – built to last and backed in writing.
Written by the team at Groundwork Construction Co. of The Hammocks.