
Last updated November 17, 2026
 Bathroom remodeling
 Kitchen remodeling
 Home additions & ADU
 Roofing
 Windows & doors
 Driveway & pavers
 Fence
Free written scope consultation - allowances, timeline, and change-order rules on paper before a single trade is scheduled
Bathroom Remodeling Troubleshooting: Common Problems and How to Fix Them
Grout cracking at tile joints within the first year of a bathroom remodel isn’t a grout problem. It’s almost always a substrate or waterproofing failure underneath, and re-grouting without addressing the cause means you’ll be doing it again in another 12 months. We’ve walked into The Hammocks bathrooms where a homeowner has paid for three re-grout jobs in two years, and the whole time the real culprit was a shower pan that was never sloped to drain. This guide teaches you to separate surface failures from systemic ones, run the diagnostic tests that reveal which is which, and decide whether you’re looking at an afternoon of caulk work or a wall that needs to come open.
Quick Answer
Most bathroom remodel problems trace to one of three root causes: waterproofing shortcuts, inadequate ventilation, or plumbing that wasn’t roughed in correctly. You can tell which category you’re in by testing, not guessing. Cracking at tile joints that returns after re-grouting points to substrate movement or a waterproofing breach. A musty smell that survives cleaning points to ventilation, a hidden leak, or a dry drain trap. Low water pressure after a remodel usually comes from aerator debris, supply line sizing changes, or a valve positioned wrong during install. Surface fixes solve surface problems; anything that recurs or involves moisture inside a wall needs a licensed professional.
Styles & brands we work with
- Kitchen remodeling
- Bathroom remodeling
- Home additions & ADU
- Roofing
- Windows & doors
- Driveway & pavers
- Fence
Table of Contents
- Surface Failures vs. Systemic Failures: How to Tell Them Apart
- Cracking Grout and What It’s Telling You
- The Musty Smell Troubleshooting Tree
- Low Water Pressure After a Remodel
- Tile Lippage, Grout Discoloration, and Efflorescence
- Ventilation Problems in Florida Bathrooms
- What You Can Fix Yourself vs. What Needs a Pro
- Preventing Repeat Problems on Your Next Remodel
Surface Failures vs. Systemic Failures: How to Tell Them Apart
The single most useful skill in bathroom troubleshooting is telling a surface failure from a systemic one. Surface failures live in the finish layer: grout, caulk, sealant, paint, fixtures. Systemic failures live underneath: the substrate, the waterproofing membrane, the drain assembly, the supply and waste plumbing. They look similar from the outside, which is exactly why homeowners waste money on the wrong repair.
Here’s the test that separates them. A surface failure appears once, in one location, and stays fixed after a proper repair. A systemic failure recurs, migrates, or returns to the same spot within 6 to 18 months. If you’ve recaulked the same shower corner three times and it keeps opening, the movement underneath is still happening. If grout cracks along a single line of tile and the crack tracks in the same direction every time, there’s deflection in the substrate behind it.
Two physical checks help. First, the tap test: press a screwdriver handle against the tile and tap. A hollow, drum-like sound over a patch of tile usually means the thinset didn’t bond and the tile has debonded from the substrate. Solid, dull sound is what you want. Second, the flex test: press firmly on the wall or floor near the crack. If you can feel any give, the substrate is moving and no surface repair will hold.
- Surface failure signals: caulk peeling at one joint, a single loose tile, mildew in one corner, grout haze that cleans off.
- Systemic failure signals: recurring cracks in the same line, hollow tiles over a patch, soft spots in drywall near the shower, a water stain on the ceiling below, grout that darkens and stays dark.
- Immediate red flags: water where it shouldn’t be, a musty smell that won’t clear, or a shower pan that holds standing water more than an hour after use.
In The Hammocks, the humidity makes surface problems appear faster than they would up north. Caulk that lasts a decade in a dry climate might show its first crack here in 18 months. That’s normal wear, not a defect. The line to watch is whether the repair holds or keeps coming back.
Cracking Grout and What It’s Telling You
Grout cracks because something moved. Grout is brittle by nature and it does not stretch; when the substrate flexes, the tile shifts, or the joint opens because two materials expand differently, the grout cracks first. The repair path depends entirely on which of those three is happening.
The most common version we see in The Hammocks is cracking along the joint where the shower wall meets the floor pan. That’s not a grout failure, it’s a movement joint. The wall and the floor are two separate assemblies that move independently, and grout in that joint will always crack. The correct material there is a flexible sealant like 100% silicone, not cementitious grout. If your remodeler grouted that joint, the crack isn’t a sign of poor workmanship so much as a sign the wrong material went in the wrong place.
- Map the cracks. Take photos and note every location. Cracks that run along joints between two surfaces (wall to floor, wall to tub) are movement joints.
- Check for hollow tile. Tap the tile around the crack. Hollow sound means debonded tile; regrouting won’t fix it.
- Check for movement. Press on the surface. Any flex means substrate deflection, which means the substrate needs addressing.
- Check for moisture. A moisture meter (an inexpensive pin meter works) on the grout near the crack will read wet if water is getting behind the tile.
- Match the fix to the cause. Movement joint: flexible sealant. Debonded tile: reset the tile. Substrate deflection: open the wall and fix the substrate.
One diagnostic clue worth knowing: cracks that appear in a spiderweb pattern over a small area almost always trace to a single point of impact or a spot where the thinset was improperly troweled. Cracks in a line trace to movement. Cracks that wander and grow with the seasons trace to thermal or moisture-driven expansion.
The Musty Smell Troubleshooting Tree
A musty smell in a bathroom is the most common complaint after a remodel, and it has three very different causes with three very different fixes. Working the tree below will tell you which one you’re dealing with, usually in under an hour of investigation.
Start with the exhaust fan. Turn it on and hold a tissue up to the grille. If the tissue doesn’t pull tight against the grille, the fan is either failing or the duct is blocked or disconnected. In older The Hammocks homes, we’ve found duct runs that terminated in the attic instead of through the roof – the fan was moving air, but not out of the house. The fix is duct repair or a fan upgrade, and it’s the cheapest of the three causes.
Next, check for a hidden leak behind the tile. Look for these signs: a water stain on the ceiling below the bathroom, a soft spot in the wall behind the shower, grout that darkens and stays dark after you dry it, or a smell that’s strongest right after a shower and fades over a few hours. A hidden leak typically gets worse over weeks, not days, and the fix requires opening the wall – no amount of cleaning or deodorizing solves it.
Then check the drain trap. Every fixture with a drain has a trap that holds water as a seal against sewer gas. A guest bathroom that goes unused for weeks will have the trap evaporate, and the smell that comes up is sewer gas, not mold. It has a distinct sulfur edge to it. The test: run water in every fixture in the bathroom – sink, shower, tub – for about 30 seconds each. If the smell clears within a day, you had a dry trap.
- Smell strongest during and right after showers, clears over hours: ventilation.
- Smell is constant, steam makes it worse, ceiling below has a stain: hidden leak.
- Smell has a sulfur edge, bathroom goes unused for weeks at a time: dry trap.
- Smell is localized to under the sink or around the toilet base: failing seal at a fixture, likely a wax ring or a trap connection.
If the smell persists after all three tests point negative, the next stop is a professional moisture inspection. A qualified contractor can run a moisture meter over the tile and trace the source without tearing out the whole bathroom.
Low Water Pressure After a Remodel
Low water pressure immediately after a bathroom remodel is one of the top post-install complaints, and it almost always traces to one of three things: debris in the aerator, a supply line sizing change, or a valve positioned incorrectly during install. The good news is the first is fixable in five minutes, and the other two usually need a pro.
The aerator is the little screen at the tip of every faucet. During a remodel, installation cuts, solder flux, thread sealant, and sediment from the water main can all end up in the lines, and they collect in the aerator. The test: unscrew the aerator by hand (they’re almost always finger-tight on new fixtures), rinse it under the tap, and screw it back on. If the pressure returns, the fix is complete. We’d estimate more than half of “low pressure” calls after a remodel resolve on this step alone.
If the aerator isn’t it, the next suspect is a supply line sizing change. Older homes in The Hammocks sometimes ran 1/2″ supply lines where a modern code-compliant fixture expects 3/8″ at the stop. Narrower line, more resistance, lower pressure. A remodeler who upgraded the fixture without upsizing the supply line can create a bottleneck. A licensed plumber can diagnose this with a pressure gauge at the fixture stop, and it usually requires opening the wall.
The third common cause is a valve installed too close to the wall or routed over an obstruction, which restricts flow. A shower valve that only delivers adequate pressure when it’s turned halfway has a positioning or cartridge problem, not a supply problem.
- Clean the aerator at every fixture. Rinse the screen, don’t just refit it. Two minutes each.
- Run the shower head without the head attached. If a bare shower arm blasts full pressure, the head or its flow restrictor is the problem.
- Check the diverter and valve. A diverter stuck between tub and shower positions will bleed pressure. A valve that only works right at one position has a cartridge issue.
- Compare to a fixture on the same line. If the sink is strong and the shower is weak, it’s a fixture problem. If both are weak, it’s a supply problem.
- Call a licensed plumber if steps 1-4 don’t solve it. Anything past aerator cleaning needs a gauge and a look inside the wall.
Tile Lippage, Grout Discoloration, and Efflorescence
Three cosmetic complaints are actually diagnostic signals, and each points at a specific installation problem. Treat them as evidence, not just annoyances.
Tile lippage is where the edge of one tile sits higher than its neighbor, enough that you can feel the lip with a finger. ANSI standards allow very little, and any lippage you can see from a standing position is outside tolerance. Lippage almost always means the tile-setter worked too fast, mixed thinset too dry, or didn’t back-butter larger format tiles. It’s cosmetic if the tile is well bonded, but it’s also a water trap: the lip collects water and soap scum, which feeds mildew. Small lippage can sometimes be dressed with a diamond pad, but meaningful lippage means the tile needs to come up.
Grout discoloration where the darkening appears in a shadow pattern – meaning it’s darker in the middle of the field and lighter at the edges of the tile – is a moisture problem behind the tile. The grout is wicking and holding water. A grout that darkens evenly across the whole floor might just be dirty, but a grout that darkens along a specific line, or in a pattern that faces the drain, is telling you about a slow leak in the waterproofing or a slope that runs the wrong way.
Efflorescence is the white, powdery deposit that appears on grout or tile surfaces, especially near the bottom of the shower or where the tile meets the floor. It’s mineral salts being carried to the surface by moisture moving through the substrate. In The Hammocks, we see this most on floors poured on slab, where moisture from the ground moves up through the concrete. Efflorescence means moisture is moving through the assembly. Cleaning the surface with an efflorescence remover will clear the deposit, but if it comes back, the source of the moisture needs to be addressed.
- Lippage: installation tolerance issue, cosmetic unless it traps water. Fix: diamond-pad dressing for small, reset for larger.
- Grout discoloration in a pattern: moisture behind the tile. Fix: locate and stop the wet, then re-grout or re-seal.
- Efflorescence on floor or shower base: moisture moving through the substrate. Fix: address the moisture migration before cosmetic repair.
Ventilation Problems in Florida Bathrooms
Ventilation is the most underrated cause of bathroom problems in Florida, and it’s almost always a design or install issue rather than a user issue. A shower generates a large volume of water vapor, and if that vapor isn’t moved outside the home, it condenses on the coolest surface – usually the drywall above the shower, the window, or the mirror. Within a few months, that moisture supports mildew on the wall, discolors paint, and eventually works behind the tile.
The test for ventilation: turn the fan on, close the bathroom door, and hold a tissue to the grille. The tissue should snap tight against the grille within a couple of seconds. If it does, the fan is moving air. If it doesn’t, the fan is either underpowered, failing, or the duct is blocked. In a bathroom larger than about 100 square feet, the fan needs to be rated for the room’s cubic footage, and most contractor-grade builder fans fall short.
The second test is the mirror test. After a hot shower, how long does the mirror take to clear with the fan running? More than five minutes suggests the fan is inadequate. The fix is a fan upgrade, which is one of the simplest remodel-category improvements and one of the highest-impact in The Hammocks’ humidity.
After the fan, check for condensation traps: closed doors, blocked return vents, windows painted shut, and duct runs that terminate in the attic. A disconnected duct that blows warm vapor into the attic in a Florida summer can create a mold problem in the attic that costs far more to fix than the fan ever would have.
We’ve found that bathrooms with an exhaust fan running continuously for 20 minutes after shower doors are opened stay dramatically cleaner. That’s not a shortcut – it’s how the room should have been set up all along.
What You Can Fix Yourself vs. What Needs a Pro
Most homeowners can handle a meaningful set of bathroom problems without calling anyone. Here’s a clean split.
Safe to DIY: recaulking joints at tub and shower, cleaning aerators, swapping a toilet wax ring, replacing a shower head, cleaning grout with a proper cleaner, replacing a vent fan with a same-sized unit after turning off the breaker, and touching up paint. These repairs are visible, reversible, and don’t involve water supply or drain connections inside a wall.
Needs a licensed professional: anything involving water behind the tile, the shower pan or waterproofing membrane, the drain assembly, the supply or waste plumbing, the electrical install for a light or fan, and any structural change. Cracking grout that traces to substrate movement, recurring musty smells after the DIY troubleshooting tree has run, and pressure problems past the aerator all fall in this category.
Needs immediate attention: a wet spot on the ceiling below the bathroom, soft drywall near the shower, standing water in a shower pan more than an hour after use, and a musty smell that gets stronger instead of fading. Each of these points to an active leak, and the repair cost grows fast with delay.
One hard rule: never open a wall to “take a look” at a suspected leak unless you already have a plan for the repair. We’ve seen more damage from well-intentioned exploration than from the original leak.
Preventing Repeat Problems on Your Next Remodel
The best troubleshooting guide is a guide to avoiding the trouble in the first place. Here’s what to specify before the first tile goes up, in the order that prevents the most expensive problems.
- Waterproofing membrane spec. Specify a bonded or liquid-applied waterproofing membrane that meets ANSI 118.10, and ask to see photos of it installed and sloped before tile covers it.
- Shower pan slope and pre-slope. A properly built shower pan has a pre-slope under the liner and a final slope at the tile layer. Both drain toward the drain. Ask how both are built.
- Ventilation sizing. Calculate the room’s cubic footage and match the fan rating. Vent through the roof, not into the attic.
- Substrate detail. For floors, confirm the substrate thickness and deflection rating. For walls, confirm the backer board and how it’s fastened.
- Plumbing rough-in to code. Supply line sizing, shut-off valve location, and drain slope all matter more than the fixture brand.
- Joint treatment. Movement joints (wall to floor, wall to tub, tile to different material) should be flexible sealant, not grout.
If you’re shopping a full bathroom remodel in The Hammocks, ask your contractor how the waterproofing will be specified, and ask for photos. A contractor who can’t answer those questions in detail is a contractor who is planning to skim. For a full-scope contractor relationship, our team at Groundwork Construction Co. of The Hammocks home can walk you through the specification before the first demo hammer swings.
Common Mistakes to Avoid
- Re-grouting without finding the cause. If the crack has come back once, it will come back again. Re-grouting costs $300 to $800 per job and lasts about a year if the underlying cause is still there.
- Grouting the wall-to-floor joint. This is the single most common install mistake in The Hammocks bathrooms. That joint should be flexible silicone, not grout, and grouting it guarantees a crack.
- Sealing tile over a leaking shower pan. Sealing the surface traps moisture behind the tile and accelerates the damage. Fix the leak first, then seal.
- Assuming a fan labeled “ventilation” actually vents. Verify the duct runs outside, not into the attic. In Florida’s heat, an attic-venting fan is worse than no fan.
- Cleaning efflorescence without stopping the moisture. A surface clean only buys a few weeks. The source of the moisture migration needs to be addressed.
- Calling a “pressure” issue a fixture issue. Check the aerator first, then test a bare shower arm before you replace a $200 shower valve. The problem is usually upstream of the fixture.
- Letting a musty smell ride for months. Hidden leaks get worse with time and cost more to fix. If the DIY tree turns up negative and the smell persists, get a professional in.
See the difference
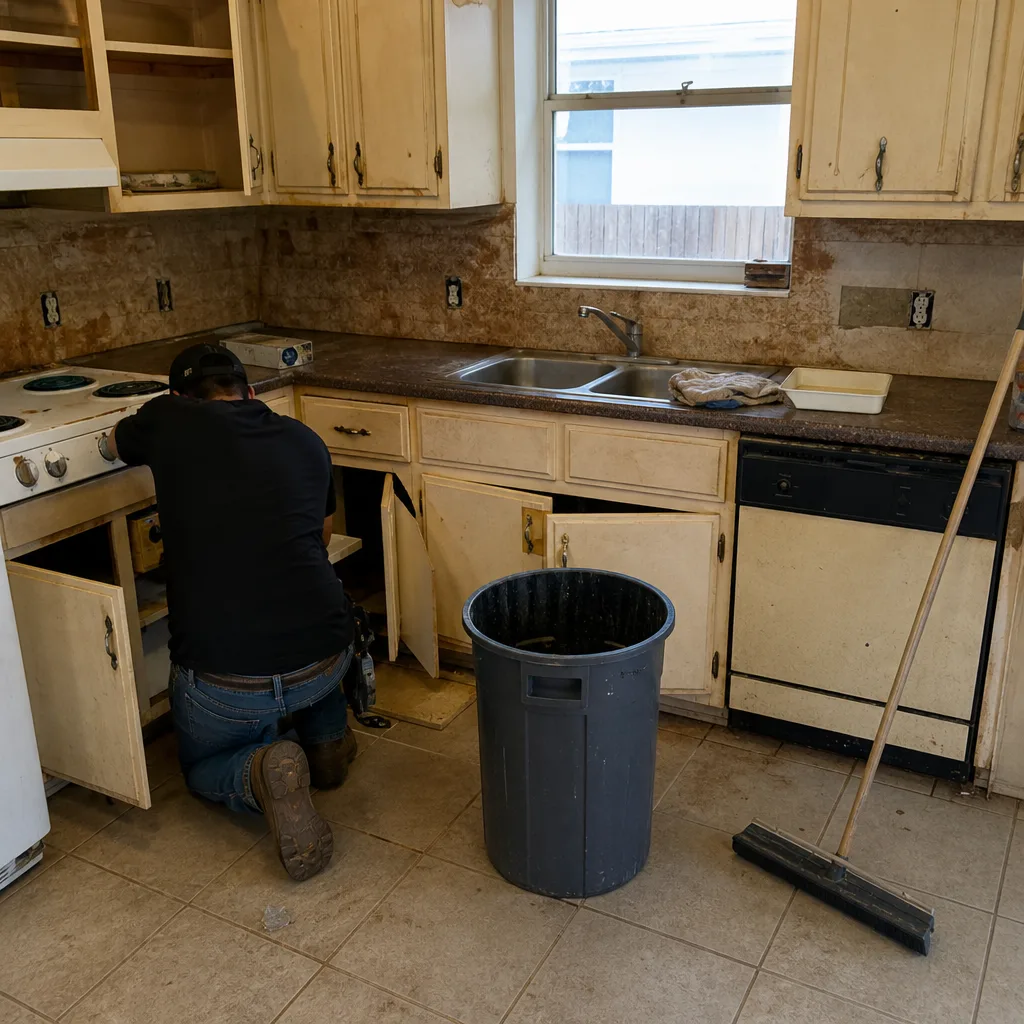 Before
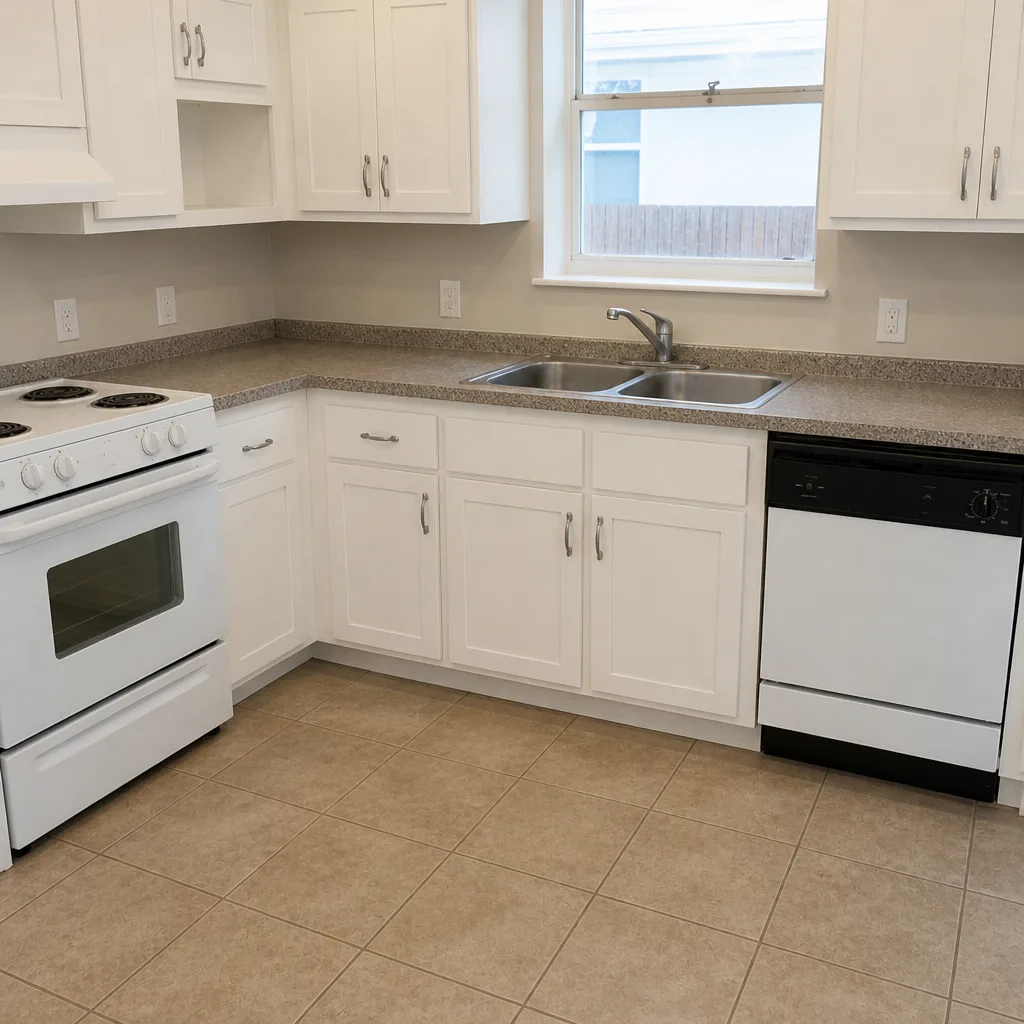 After
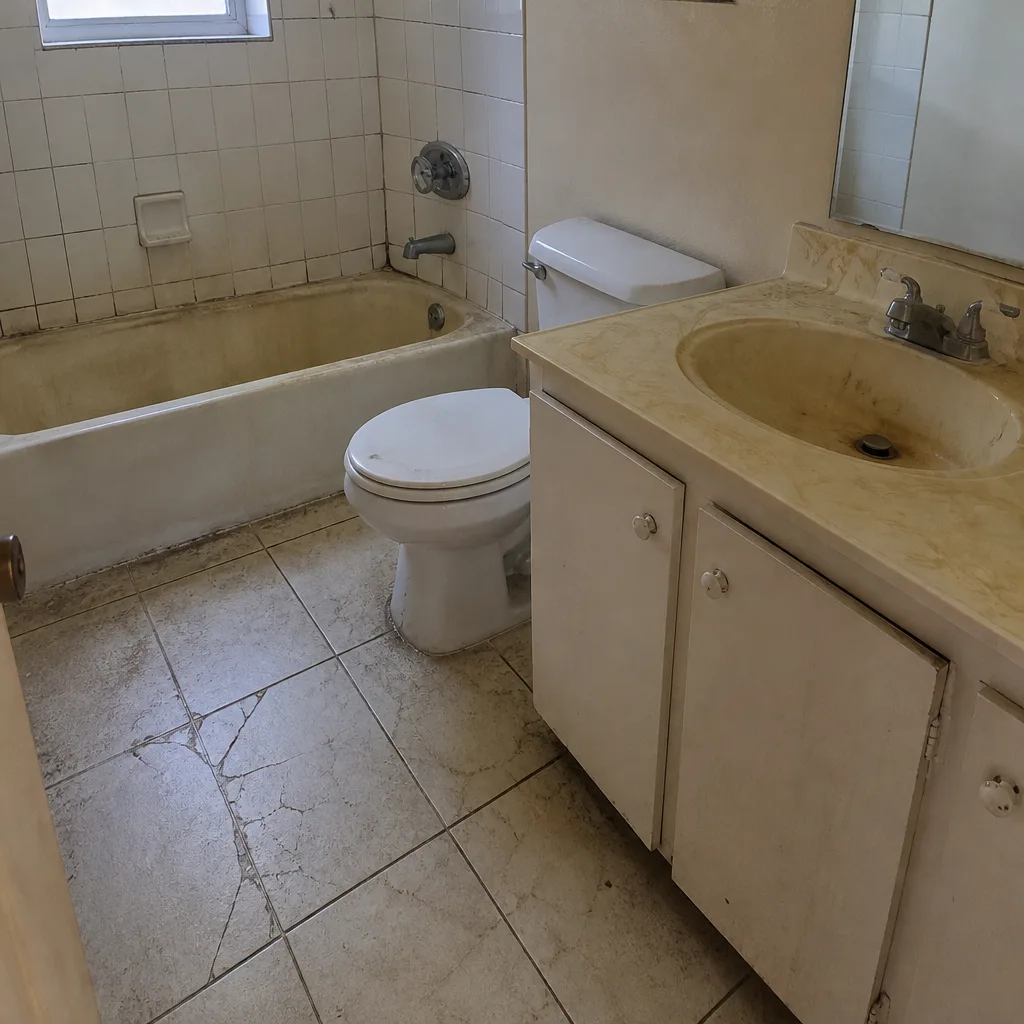 Before
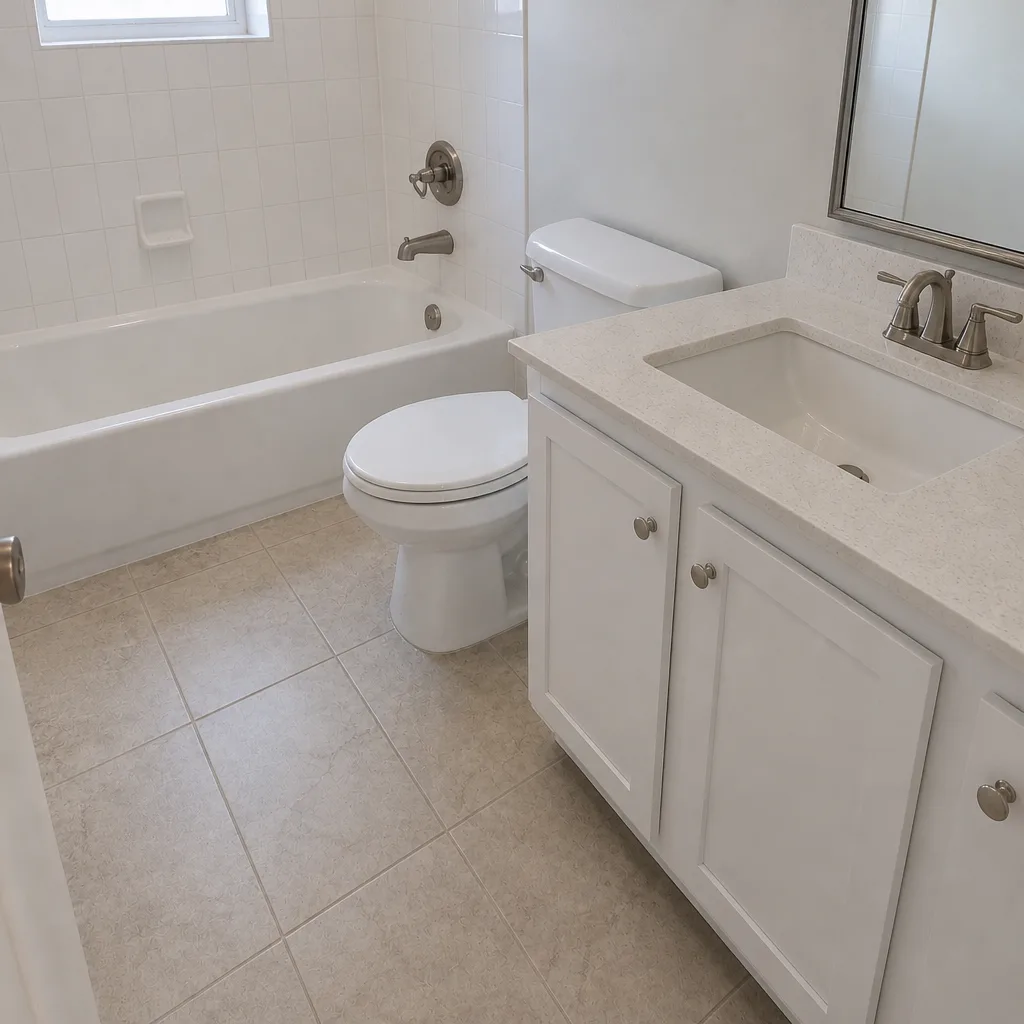 After
 Before
 After
When to Call a Professional
Call a licensed professional when the troubleshooting tree points to a systemic issue: water behind the tile, a shower pan that won’t drain, recurring grout cracks in the same line, or a musty smell that survives aerator cleaning and a fan check. Call when a pressure problem persists past the aerator step. Call when a ceiling below the bathroom or a soft patch of drywall appears, because both point to an active leak that’s already done damage. And call when the work involves opening a wall, moving plumbing, or resealing a waterproofing membrane – those are permit and inspection territory in most Florida jurisdictions, and doing them without a permit can affect insurance and resale. Groundwork Construction Co. of The Hammocks offers free estimates in The Hammocks – call (844) 761-9356 to schedule one.
Frequently Asked Questions
Grout that keeps cracking in the same spot almost always means the substrate or the waterproofing is moving underneath. Grout is brittle and can’t accommodate movement; the crack is doing exactly what the material tells you. Regrouting without addressing the substrate or waterproofing underneath will fail again in about the same interval. The right next step is a flex test on the tile and a moisture check, usually followed by opening the wall to look at the waterproofing layer.
A leak-driven smell is usually strongest during and immediately after a shower, and it persists after the room dries out. A stuffy-room smell clears within an hour or two once the door is opened and the fan runs. A dry trap smell has a sulfur edge to it and appears in bathrooms that go weeks between uses. Run the exhaust-fan tissue test first, then check the drain trap by running water in every fixture. If neither test resolves the smell and the room’s been used recently, the next step is a professional moisture check.
Low pressure immediately after a remodel is almost always debris in the aerator at the faucet or shower head. Installation sediment collects in the small screen and restricts flow. Unscrew the aerator, rinse it, and refit. If pressure doesn’t return, test the bare shower arm and check whether the fixture is on a supply line sized correctly for it. Anything past those steps needs a licensed plumber with a pressure gauge.
That’s efflorescence, and it means mineral salts are being carried to the surface by moisture moving through the substrate. In The Hammocks, this is common on bathroom floors poured on slab, because moisture from the ground moves up through the concrete. Cleaning with an efflorescence remover will clear the surface, but if it returns, the moisture source needs to be addressed with a proper waterproofing layer.
You can, if the smell traces to a dry drain trap or a failing exhaust fan. Run water in every fixture for 30 seconds each and clean or replace the exhaust fan. Those two fixes resolve most The Hammocks bathroom smells and cost under $200 in parts. If the smell persists after both fixes, or if there’s any sign of a leak (a ceiling stain below, a soft drywall patch, grout that darkens), call a professional.
Waterproofing and shower pan repairs typically run $1,800 to $4,500 in The Hammocks, depending on the size of the shower and whether tile needs to be removed and replaced. That’s a wide range because a localized fix is much cheaper than a full tear-out. Call (844) 761-9356 for a free estimate with a written line-item quote – no surprise numbers once the wall is open.
The Bottom Line
Bathroom remodel problems almost always trace back to three root causes: waterproofing shortcuts, inadequate ventilation, or plumbing that wasn’t roughed in correctly. Learn to tell a surface failure from a systemic one, and you stop wasting money on the wrong repair. Grout that cracks in the same line twice is a substrate problem. A musty smell that survives cleaning is a ventilation, leak, or trap problem. Low pressure that survives an aerator cleaning is a plumbing or valve problem. Handle the surface repairs yourself when they’re truly surface-level, and call a professional the moment any wall needs to open. If you’re remodeling a bathroom in The Hammocks, spec the waterproofing and ventilation before the first tile goes up – it prevents every problem this guide covers.
For full-scope bathroom remodeling, or a diagnostic walk-through on an existing bathroom, our team at Groundwork Construction Co. of The Hammocks backs every project with the 730-Day Done Right Promise – if it isn’t done right, we make it right. Homeowners who plan more than a bathroom can also see how we handle Driveway & Pavers in The Hammocks, Fence Installation in The Hammocks, and Home Additions & ADU in The Hammocks as their property improves alongside the home. Calls are answered by a live person, 24/7, and our no-hassle upfront pricing means the number you see is the number you pay.
Call (844) 761-9356 to schedule your free project estimate and design consult. Current offers include $1,000 off projects over $10,000 and 0% financing for 18 months. Our technicians have up to 12 years of experience and are background-checked and uniformed on every project. Bathroom remodels in The Hammocks deserve a contractor who answers the phone, shows up in writing, and stands behind the work for years, not weeks.
Written by the team at Groundwork Construction Co. of The Hammocks.