
Last updated November 17, 2026
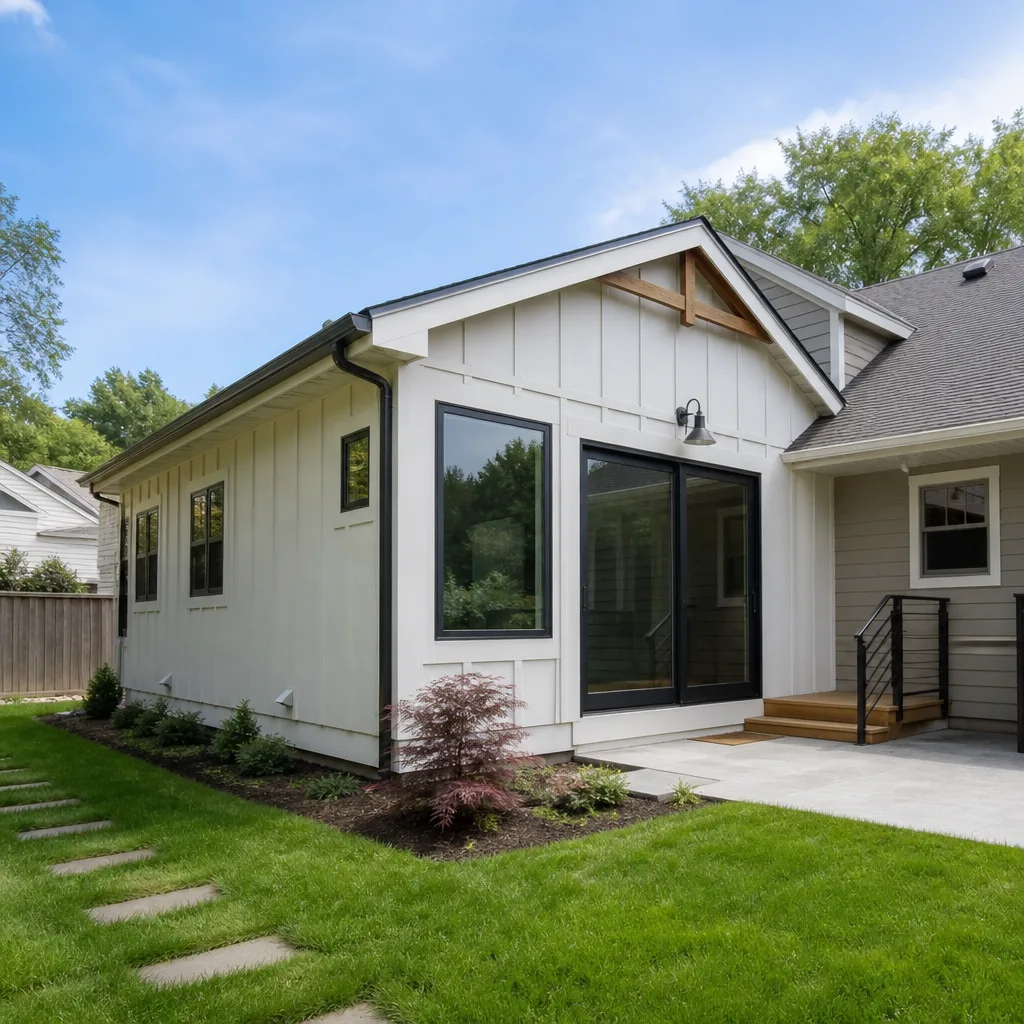 Home additions & ADU
 Kitchen remodeling
 Bathroom remodeling
 Roofing
 Windows & doors
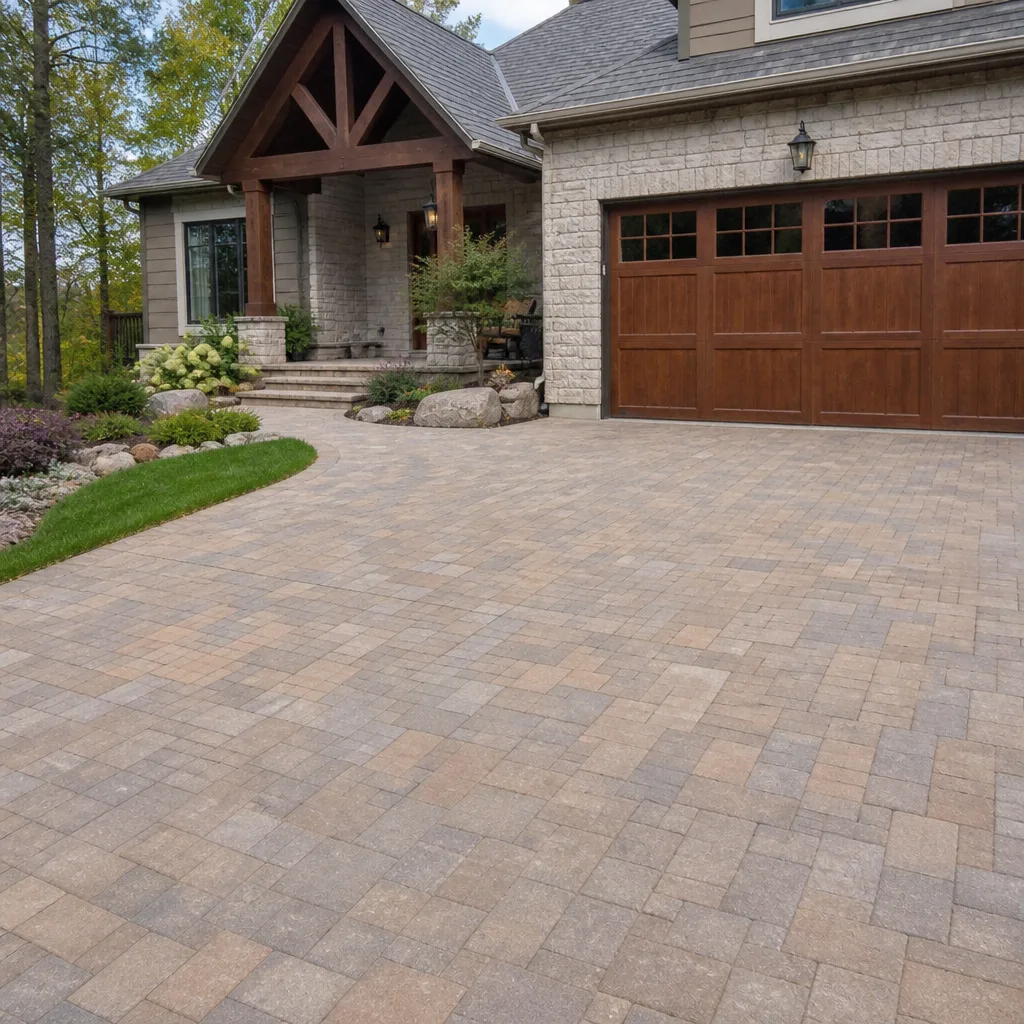 Driveway & pavers
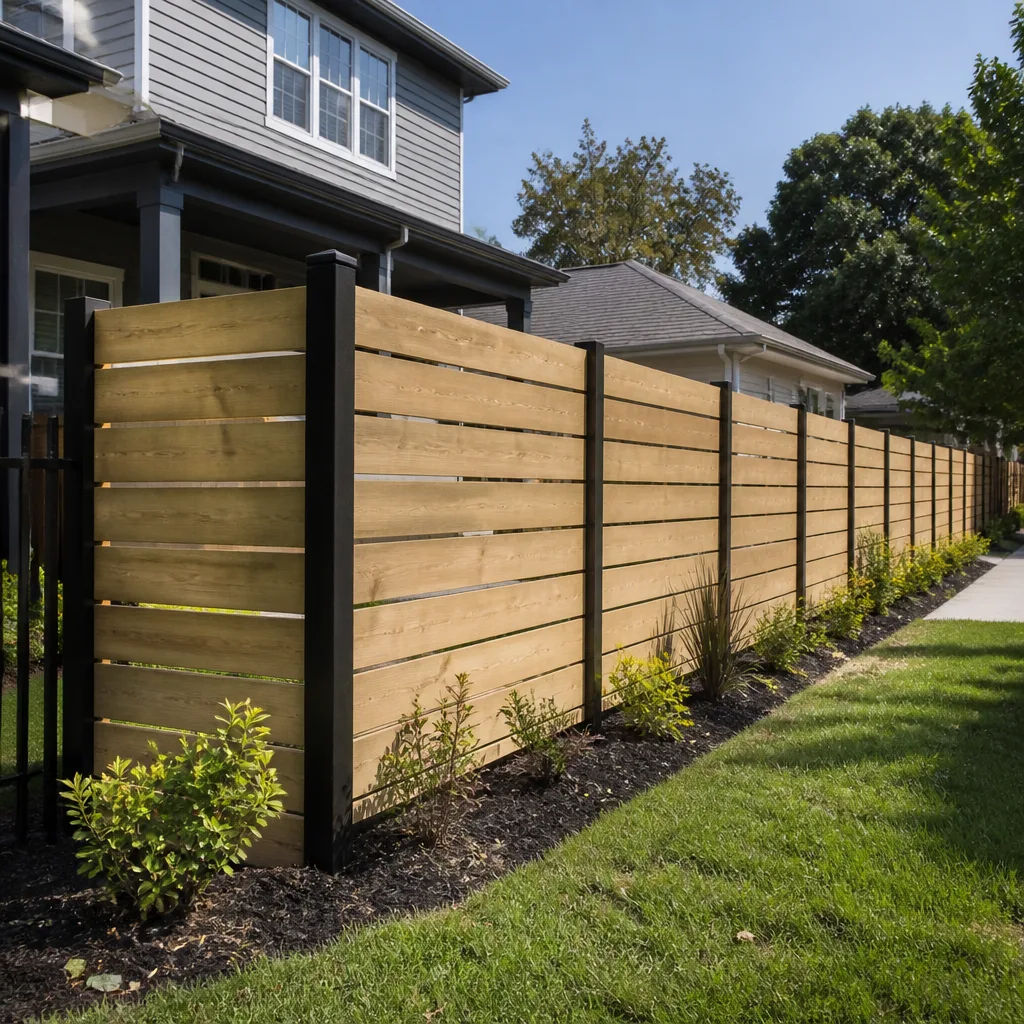 Fence
Free written scope consultation - allowances, timeline, and change-order rules on paper before a single trade is scheduled
Home Additions & ADU Maintenance Schedule: What to Do and When
Here’s the part most people don’t hear at the closing walkthrough: your new addition or ADU isn’t finished when the crew packs up. The first 12 months are the highest-risk window of the entire life of that structure. An unsealed expansion joint, a drain that quietly collects debris, a strip of caulk that pulls away at a roof tie-in – these small oversights compound fast, and when they turn into water intrusion or a cracked slab, they tend to get classified as owner neglect. That means no warranty covers them. This guide lays out the exact maintenance calendar we use for additions across The Hammocks, from the first rainy season through year five.
Quick Answer
A new addition or ADU needs a formal inspection at four points in year one: right after move-in, before the June wet season, after the October rains, and at the 12-month mark when the structure has fully settled. After that, it settles into a twice-yearly rhythm – one inspection before the wet season and one after – with monthly checks on the ADU mechanicals you’ll otherwise forget. The critical items are roof tie-ins, exterior caulk and sealant, perimeter grading and drainage, expansion joints, and the ADU’s separate mini-split, tankless water heater, and electrical panel.
Styles & brands we work with
- Kitchen remodeling
- Bathroom remodeling
- Home additions & ADU
- Roofing
- Windows & doors
- Driveway & pavers
- Fence
Table of Contents
- Why Year One Is the Most Dangerous Year for a New Addition
- Month-by-Month Year 1 Maintenance Calendar
- Why South Florida’s Wet Season Demands Inspection Bookends
- Roof Tie-In and Envelope Checks
- Concrete and Paver Settling Around the New Structure
- The ADU Mechanicals Everyone Forgets
- The Year 2-5 Maintenance Rhythm
- Common Mistakes to Avoid
- When to Call a Professional
- Frequently Asked Questions
Why Year One Is the Most Dangerous Year for a New Addition
New construction moves. That’s not a defect – it’s physics. Fresh lumber dries and shrinks. Concrete cures and shifts a fraction. Sealants stretch as the two structures (your original home and the new addition) expand and contract at slightly different rates. Every one of those movements opens a seam somewhere, and in year one those seams are at their widest.
The transition zone between old and new is where almost every problem starts. The roofline where the addition ties into the existing house, the wall joint where new stucco meets old, the slab edge where the addition meets the original foundation – these are the places where two separate structures meet, and they behave differently under heat, rain, and settling. In The Hammocks, where the afternoon sun bakes one side of a house and the summer rains hammer the other, that differential movement is real and measurable.
The other year-one trap is the “it’s all new, nothing to worry about” mindset. New mechanicals fail early if they’re never serviced. A tankless water heater in a new ADU will scale up within a year in South Florida’s hard water if nobody descales it. A mini-split filter clogs in months in a household with pets. Fresh exterior paint and caulk look perfect right up until the first wet season finds the one gap the installer missed.
In our experience, the additions that age well are the ones where the homeowner did a deliberate 12-month walkthrough cadence instead of waiting for something to leak. The ones that age badly are usually traced back to a single ignored item in month three.
Month-by-Month Year 1 Maintenance Calendar
This is the calendar. Print it, put it on the fridge, and treat the inspection dates like appointments. Timing assumes a project completed in late fall or winter, which is common in The Hammocks because it puts the finishing trades outside the June-to-October rainy stretch. If your addition finished at a different time of year, shift the wet-season bookends to match the actual weather.
- Month 1 – Post-move-in walkthrough. Photograph every exterior joint, the roof tie-in, and the perimeter grade. Walk the ADU and note the mini-split filter location, tankless heater model, and the separate electrical panel’s breaker map. Locate the main water shutoff for the addition.
- Month 2 – First caulk and sealant inspection. Check every exterior bead: window perimeters, door frames, the wall joint where new meets old. Look for hairline separations at corners. Re-caulk anything that’s pulled away using exterior-grade sealant rated for Florida sun.
- Month 3 – Roof tie-in check. After the first decent rain, get on a ladder (or have someone who does this safely) and inspect the flashing and the valley where the addition roof meets the original. Look for staining, granule loss, or daylight at the seam.
- Month 4 – Grading and drainage assessment. Confirm the soil around the new foundation slopes away from the structure. Fill any settlement trenches along the footing. Check that downspouts discharge well clear of the addition.
- Month 5 – Pre-wet-season inspection. This is the big one. Re-check caulk, flashing, window seals, and the grade – all of it – before the June rains. Clear debris from any roof drains, gutters, or area drains serving the addition.
- Months 6-9 – Monthly mechanical checks. Clean mini-split filters every 30 days. Flush the tankless water heater at the manufacturer’s interval (often annually, but check your model). Re-set any tripped breakers on the ADU panel and note what caused them.
- Month 10 – Post-wet-season inspection. After the October rains taper, walk the entire envelope again. This is when hidden water intrusion shows up as staining or soft spots. Re-inspect the roof tie-in and the perimeter grade.
- Month 12 – The formal one-year review. Full walkthrough of envelope, roof, foundation perimeter, and ADU mechanicals. Document everything. Adjust the calendar for year two based on what you found.
The calendar isn’t glamorous, but it’s the difference between catching a $40 caulk failure and discovering a $40 caulk failure turned into $4,000 of rotted framing. That’s the whole point of the first year.
Why South Florida’s Wet Season Demands Inspection Bookends
South Florida doesn’t have a gentle spring. It has a dry season and a wet season, and the wet season runs roughly June through October with afternoon downpours that dump an inch of rain in under an hour. For a new addition, that’s a stress test, not a rain shower.
The reason we insist on pre-season and post-season inspections is simple: water intrusion in a new enclosure is almost always progressive. It starts with a small gap that lets a little moisture in during a heavy storm. That moisture sits behind stucco or under flashing. Then the sun bakes it, mold and rot get started, and by the time you see a stain inside, the problem has been growing for months. Pre-season catches the vulnerability. Post-season catches whatever got through anyway. Skip either one, and you’re relying on luck.
The climate in The Hammocks adds two specific complications. First, the sun exposure on south- and west-facing walls is brutal, and exterior caulk and sealant degrade faster there than on shaded sides. Second, the area’s afternoon thunderstorms often come with wind-driven rain that can push moisture into joints a straight-down rainfall would never reach. That means a caulk bead that passed a visual check in the dry season can be a genuine failure point once the rain starts hitting at an angle.
The bookend checklist before June:
- Re-seal all exterior caulk joints, especially on south- and west-facing walls
- Inspect and clear roof drains, gutters, and scuppers serving the addition
- Check flashing at the roof tie-in and around all roof penetrations
- Confirm perimeter grade slopes away from the foundation on all four sides
- Verify window and door perimeter seals
- Test that the addition’s drainage flows away from the structure during a real rain
And after October: repeat all of the above, plus a careful interior check for water staining on ceilings, walls, and in the ADU. That’s your post-storm audit.
Roof Tie-In and Envelope Checks
The roof tie-in is the single most consequential detail on any addition, and it’s the one that gets the least attention after the crew leaves. Where your new roof meets the original, the flashing has to shed water across two structures that move independently. If that flashing is even slightly compromised, water gets under it and into the framing, and you won’t see it from the inside until it’s done real damage.
Here’s what to look for during your checks. You’re not climbing onto the roof – that’s for a trained professional, because a fall from a South Florida roof is a serious injury and the tile or metal surfaces get dangerously hot in the sun. From a ladder at the eaves and from the ground with binoculars, check these:
- Staining or dark streaks at the flashing where the addition roof meets the original
- Lifted, cracked, or missing sealant at the flashing edge
- Granule loss or curling on the roofing material near the tie-in
- Debris accumulation in the valley where the two roofs meet
- Any daylight or gap visible at the transition
On the envelope itself, the transition between new stucco and original stucco is your next-watch zone. That joint should have a proper expansion joint with sealant, and the sealant should be intact. As the structures settle at different rates, that joint is under constant stress. When it cracks, water gets behind the stucco and the problem is invisible until it isn’t.
Brands matter here, and the materials on a good addition are specified for a reason. PGT windows, for example, are designed and tested for high-velocity hurricane zones and built to hold their seals through the kind of wind-driven rain that defines a The Hammocks wet season. When your window perimeters are sealed around quality units, the inspection is mostly a confirmation. When they’re sealed around cheap ones, you’re fighting a losing battle every June.
If you find a problem at the tie-in or the envelope joints, don’t wait for it to get worse. A flashing repair done early is a few hundred dollars. A framing repair done late is a different conversation entirely.
Concrete and Paver Settling Around the New Structure
Fresh concrete around a new addition will settle, and fresh pavers will shift, in the first year. That’s normal. What’s not normal is settling that creates a low spot against the foundation, because a low spot against the foundation is a drainage problem, and a drainage problem against the foundation is how you undermine it.
Walk the perimeter of your addition after every significant rain and look for puddles that sit against the slab edge. Water pooling within a few feet of the foundation is the red flag. The soil under the new slab and the soil around it should slope away at least a couple of inches over the first foot or two. If it doesn’t, that’s a fix you want to make before the wet season, not after.
A few specific things to check:
- Any low spot or puddle against the addition foundation after rain
- Settlement trenches along the footing where backfill has compacted and dropped
- Pavers that have shifted, tilted, or sunk near the new structure
- Expansion joints in the concrete that have opened up or filled with debris
- Downspouts from the addition roof that discharge too close to the foundation
That last one catches a surprising number of homeowners. A downspout that dumps water six inches from the wall is effectively concentrating a huge volume of rain right against the foundation. Extending the discharge several feet away from the structure is a small fix with an outsized payoff. If your addition connects to a paver patio or driveway, the same settling logic applies – and if that hardscape is part of the project scope, Driveway & Pavers in The Hammocks covers how we build those surfaces to drain, not just to look good.
Correcting a drainage issue in year one is usually a matter of re-grading soil or resetting a downspout. Correcting it after it’s undermined a foundation is a structural repair. The difference is entirely about catching it early.
The ADU Mechanicals Everyone Forgets
An ADU is a small, self-contained home, and it has its own mechanical systems separate from the main house. That’s exactly why those systems get forgotten. Out of sight, in a detached structure, “new” so nothing should need doing – and then a year goes by. In our experience, the ADU mechanicals are the single most neglected part of a new addition project.
Here’s the monthly-to-quarterly schedule:
- Mini-split filters – monthly. A ductless mini-split filter clogs fast in South Florida because the system runs almost year-round and the air is humid and often dusty. A clogged filter forces the unit to work harder, which shortens its life and raises the electric bill. Pull the filter, rinse it, let it dry, put it back. It takes ten minutes.
- Mini-split condenser coils – annually. The outdoor unit needs its coils cleaned once a year. Palm debris, pollen, and dust build up on the fins and cut efficiency. This is worth having a technician do.
- Tankless water heater descaling – annually, or per the manufacturer. South Florida water is hard, and hard water scales a tankless heat exchanger. Descaling with a vinegar or manufacturer-approved flush removes it. Skip it for a couple of years and you’ll see reduced hot water output, then the unit starts erroring. This one is the most-forgotten item on the list.
- ADU electrical panel – quarterly. Open the panel (only if you’re comfortable and know the safety basics – otherwise leave it to a professional) and look for any breaker that’s tripped or any sign of heat, scorching, or a burning smell. A dedicated subpanel in an ADU is a good thing; it just needs to be looked at. If you ever smell burning near a panel, stop and call a licensed electrician. Electrical work is genuinely dangerous, and panel problems are not a do-it-yourself item.
- Smoke and CO detectors – monthly test, annual battery check. An ADU is a sleeping space. The detectors are not optional and they are not a “check it when you think of it” item.
These are small tasks with outsized consequences. A $15 filter that gets cleaned every month adds years to a mini-split. A tankless heater that gets descaped on schedule gives you a decade-plus of hot water. The alternative is premature replacement, and the labor and materials for a new tankless install run well into the thousands.
The Year 2-5 Maintenance Rhythm
Here’s the good news: after the first 12 months, the addition has largely stopped moving. The framing has dried, the concrete has cured, the sealants have gone through their first full cycle of expansion and contraction. The high-alert phase is done, and you transition into the long-term rhythm.
The rhythm isn’t complicated:
- Twice a year (pre- and post-wet-season): Envelope inspection – caulk, sealant, flashing, roof tie-in, window and door perimeters, perimeter grade and drainage. This is the core of your maintenance and it doesn’t change as the addition ages.
- Annually: Tankless water heater descaling (or per manufacturer), mini-split condenser coil cleaning, roof inspection by a professional (do not go up there yourself), and a fresh look at the ADU electrical panel.
- Monthly: Mini-split filter cleaning, smoke and CO detector tests, and a walk of the perimeter after heavy rain to catch puddling.
- Every few years: Re-caulk high-sun-exposure joints as they degrade. South- and west-facing exterior sealant simply wears faster in The Hammocks, and proactive replacement beats reactive repair every time.
The mindset shift is from vigilance to upkeep. In year one you’re watching for movement. In years two through five you’re maintaining against weathering. The items are the same; the urgency is lower. That’s the natural arc of a well-built addition, and it’s a good sign, not a reason to let the schedule slide.
It also helps to know what you’re maintaining. Quality materials held up with a written guarantee are a different long-term proposition than builder-grade everything, and that’s the reason we specify brand partners we trust across every trade – GAF and Owens Corning on the roof, Andersen and Marvin for windows, James Hardie for siding. The 730-Day Done Right Promise backs the workmanship; the materials back the longevity. Between the two, a properly maintained addition should outlive the maintenance calendar entirely.
Common Mistakes to Avoid
- Assuming “new” means “maintenance-free.” Year one is the highest-risk year, not the lowest. The whole point of the calendar is that new construction moves and needs watching, and treating it as set-and-forget is how small seams become expensive leaks.
- Skipping the pre-season caulk inspection. A caulk bead that looks fine in March can fail under a June downpour. Re-sealing before the wet season in The Hammocks is a half-day task that prevents the water intrusion that shows up as a stain in September.
- Ignoring the ADU tankless water heater. Hard water scales it, and nobody remembers it needs descaling. Reduced hot water output a couple of years in is almost always a missed descale, not a broken unit.
- Letting water pool against the foundation. A low spot against the slab edge is a drainage failure waiting to undermine the structure. Re-grade the soil or extend the downspout the week you notice it, not the summer after.
- Climbing onto the roof to check the tie-in yourself. The flashing inspection is important, but a fall from a South Florida roof is a genuine injury risk and the surfaces are dangerously hot. Inspect from a ladder and from the ground, and leave the roof to a professional.
- Not photographing the original condition. A month-one photo set of every exterior joint gives you a baseline to compare against. Without it, you can’t tell what’s new damage and what was always there, and that makes warranty conversations harder than they need to be.
- Treating the one-year mark as the finish line. The 12-month review is the start of the long-term rhythm, not the end of the maintenance. Additions that get the year-two-through-five upkeep outlast the ones that got a single year of attention.
When to Call a Professional
Some of this calendar is genuinely homeowner work: rinsing a filter, re-setting a downspout, watching the perimeter after rain. Some of it is not. Call a professional for any roof tie-in or flashing concern, any electrical panel issue (burning smell, tripping breakers, heat at the panel), any sign of water intrusion you can’t trace, and any foundation perimeter or drainage problem that involves more than re-grading a shovelful of topsoil. Foundation and framing work belong to trained hands, full stop. For the ADU’s separate systems, it’s worth having a professional handle the tankless descaling and condenser cleaning until you’re confident doing it yourself. Groundwork Construction Co. of The Hammocks offers free estimates in The Hammocks – call (844) 761-9356 to schedule an inspection or a design consult. Our technicians have up to 12 years of experience, calls are answered by a live person 24/7, and every project is backed by the 730-Day Done Right Promise.
Frequently Asked Questions
In year one, four formal inspections: post-move-in, pre-wet-season, post-wet-season, and at the 12-month mark. After that, twice a year – once before the June wet season and once after October – plus monthly checks on the ADU mechanicals. The first year carries the most risk because the structure is still settling and the sealants are in their first expansion cycle.
After the October rains, inspect the roof tie-in and flashing, all exterior caulk and sealant joints (especially south- and west-facing), window and door perimeters, and the perimeter grade around the foundation. Look for interior water staining on ceilings and walls, and check for puddles pooling against the slab. Any of these warrant a call to (844) 761-9356 for an estimate.
South Florida’s water is hard, and hard water deposits scale on the tankless heat exchanger. Left alone, scale reduces hot water output and eventually causes the unit to error out. Descale annually or per the manufacturer’s schedule, and the unit lasts as designed.
Yes, some settling in the first year is normal because fresh backfill compacts and concrete cures. What’s not normal is settling that creates a low spot against the foundation where water pools. Re-grade the soil or extend the downspout the week you notice it to protect the foundation.
Probably, yes – at least touch up the high-sun-exposure joints. New sealant goes through its first full expansion and contraction cycle in year one, and south- and west-facing walls in The Hammocks take the worst of it. A pre-wet-season caulk check is standard first-year maintenance, not a sign of poor workmanship.
Workmanship issues are covered by our 730-Day Done Right Promise – if it’s not done right, we make it right. But issues classified as owner neglect, like an unsealed expansion joint or a clogged drain that caused water damage, are not. That’s exactly why the maintenance calendar matters: doing the upkeep protects the warranty and the structure alike.
The Bottom Line
A new addition or ADU isn’t done when the crew leaves. Year one is the highest-risk window, and the transition zones – roof tie-in, wall joints, perimeter grade, expansion joints – are where the problems start. Follow the four-point year-one inspection schedule, keep the monthly ADU mechanical checks going, and lean on the pre- and post-wet-season bookends that South Florida weather demands. Then settle into the twice-yearly rhythm. If you want a professional walkthrough before the next rainy season or you’re planning an addition, visit Groundwork Construction Co. of The Hammocks home or our Home Additions & ADU in The Hammocks page. We offer free estimates, upfront pricing with no surprises, and zero percent financing for 18 months. Call (844) 761-9356.
Written by the team at Groundwork Construction Co. of The Hammocks.
See the difference
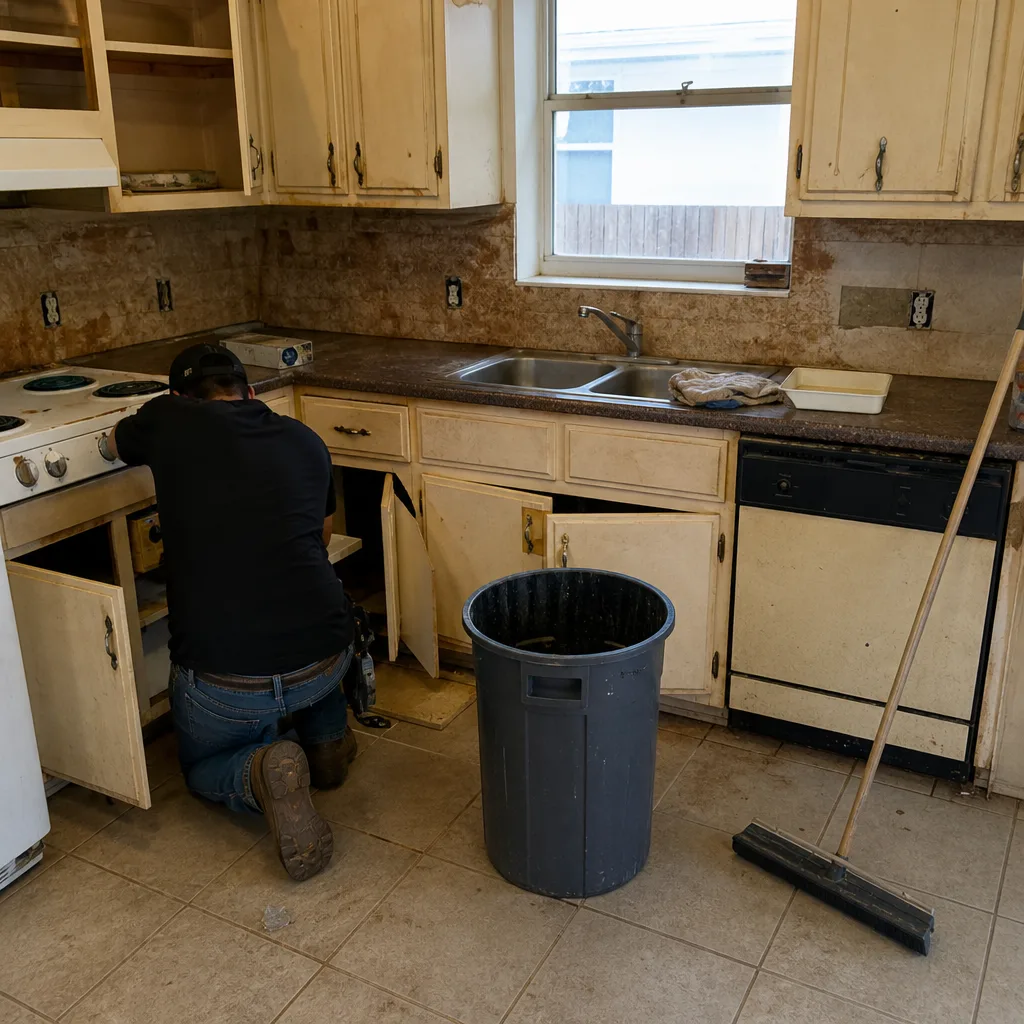 Before
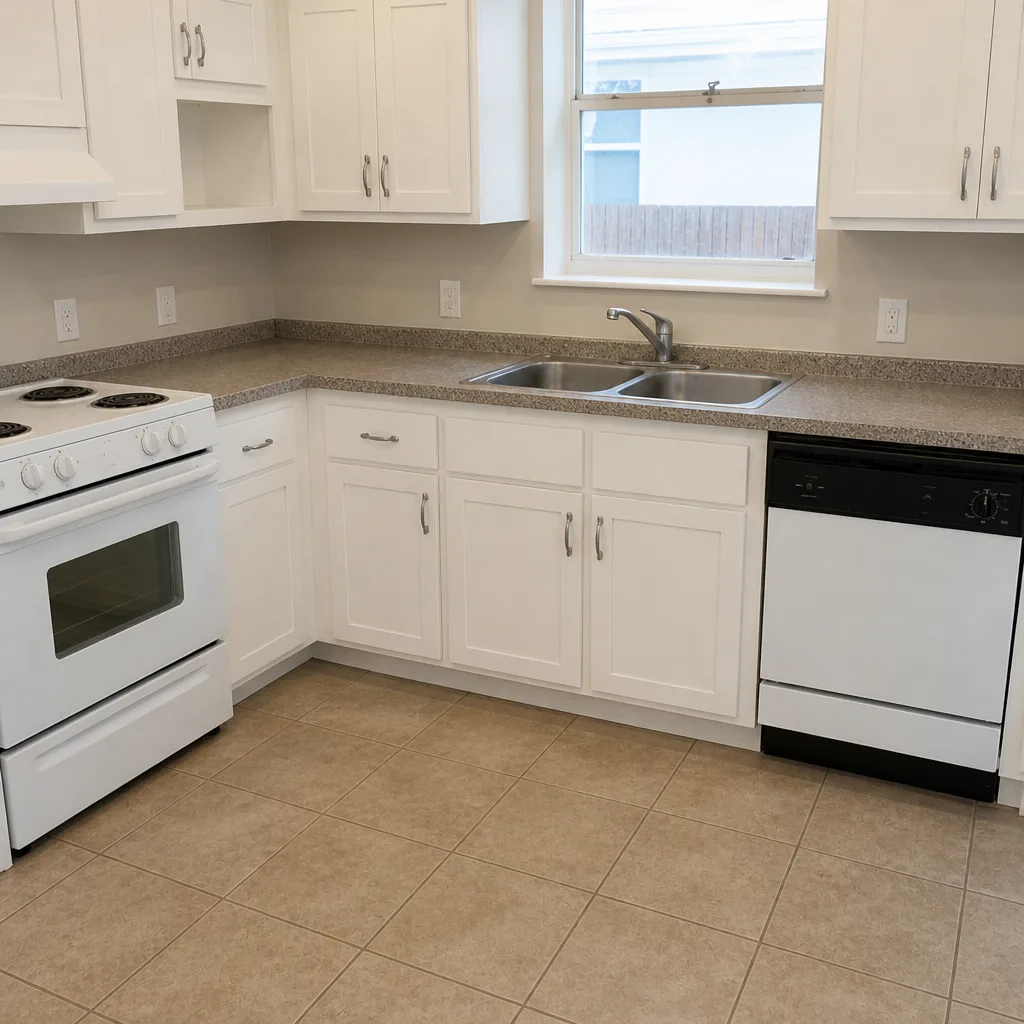 After
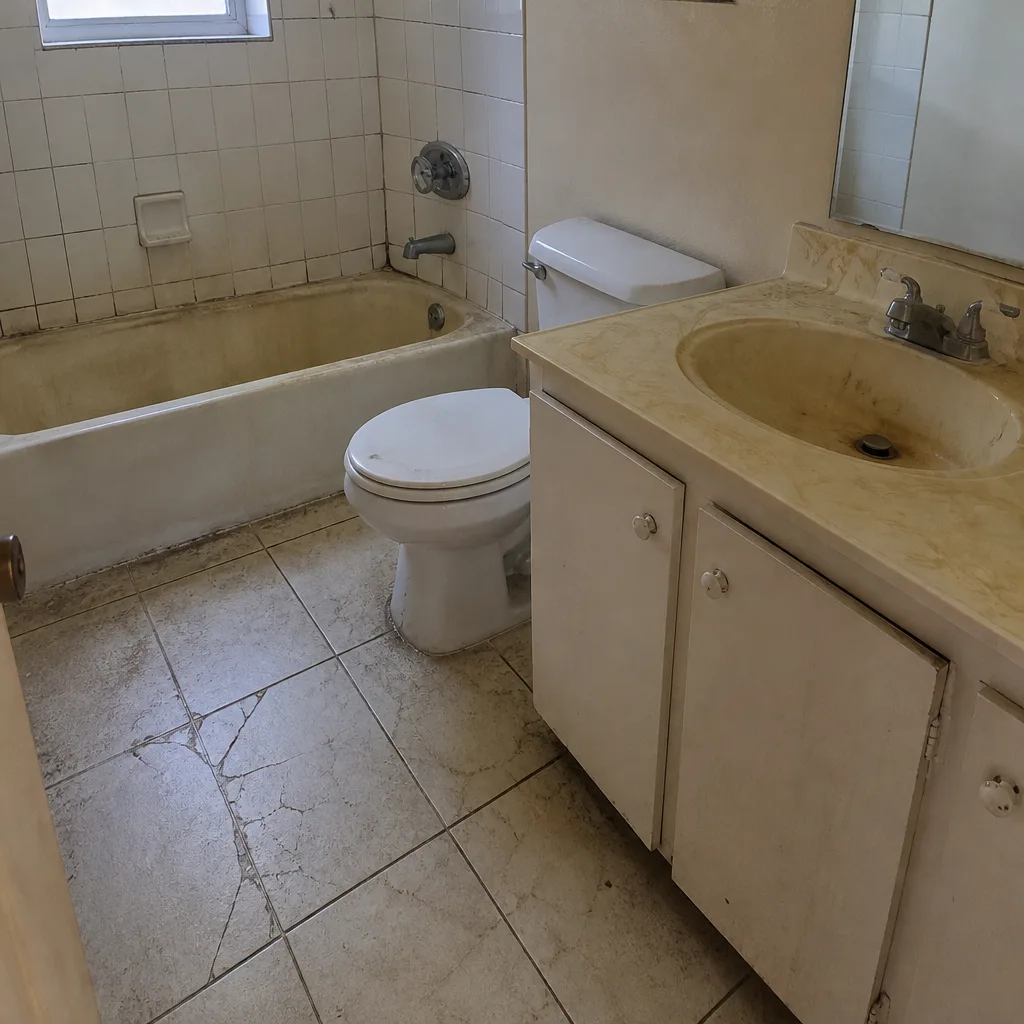 Before
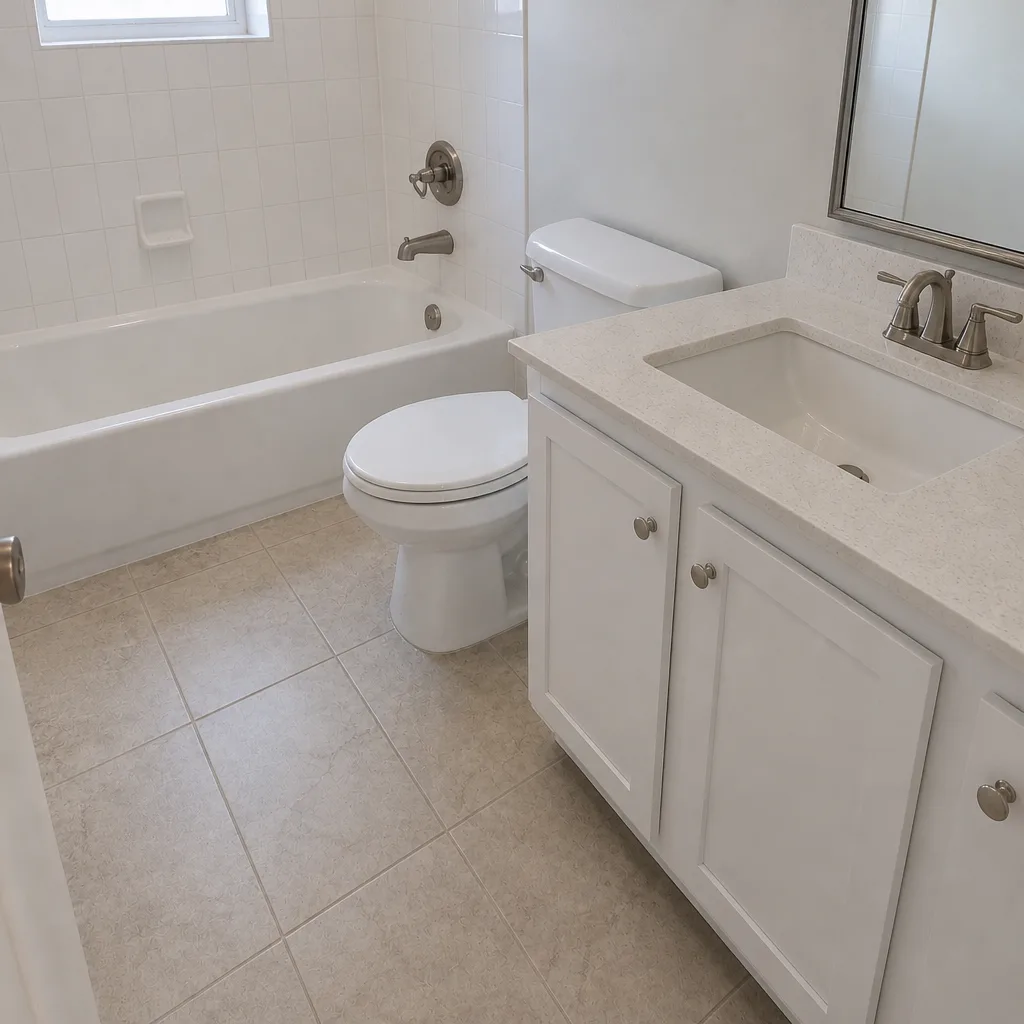 After
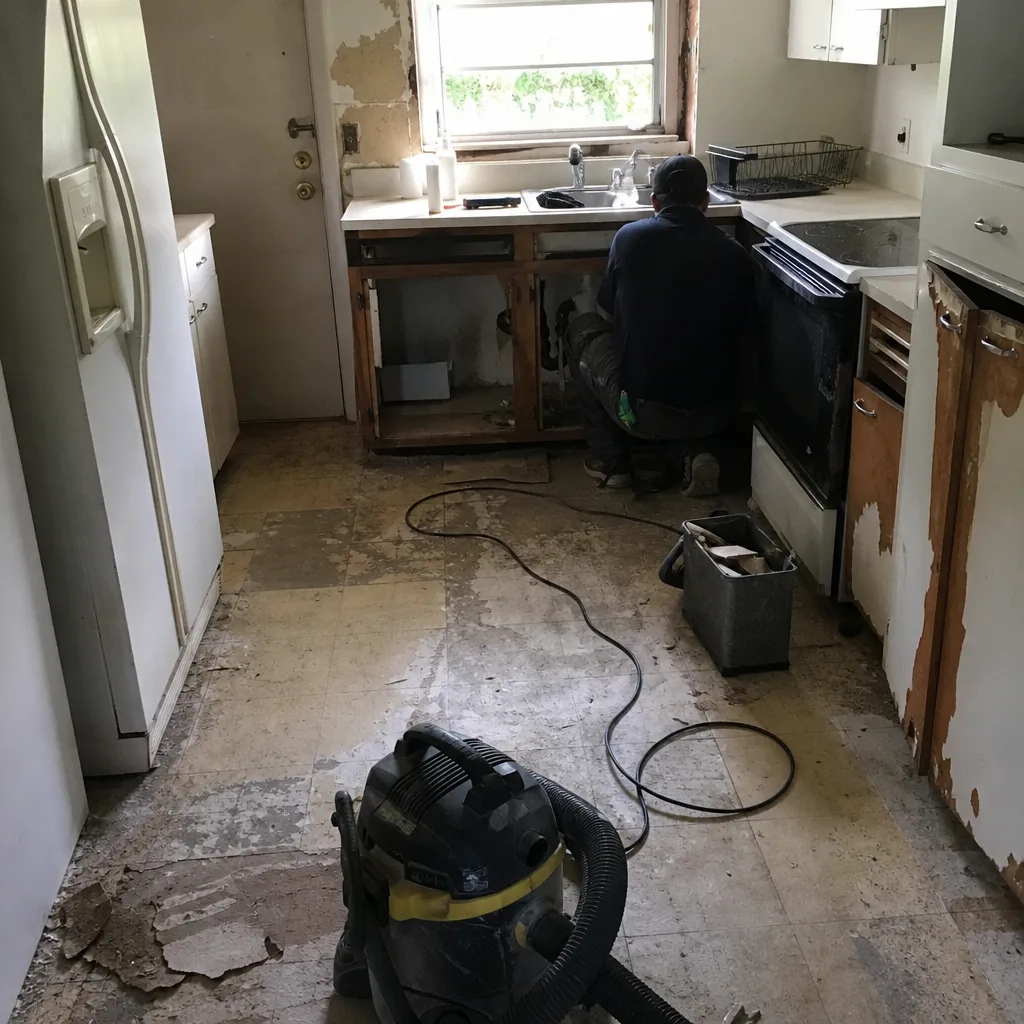 Before
 After