
Last updated November 17, 2026
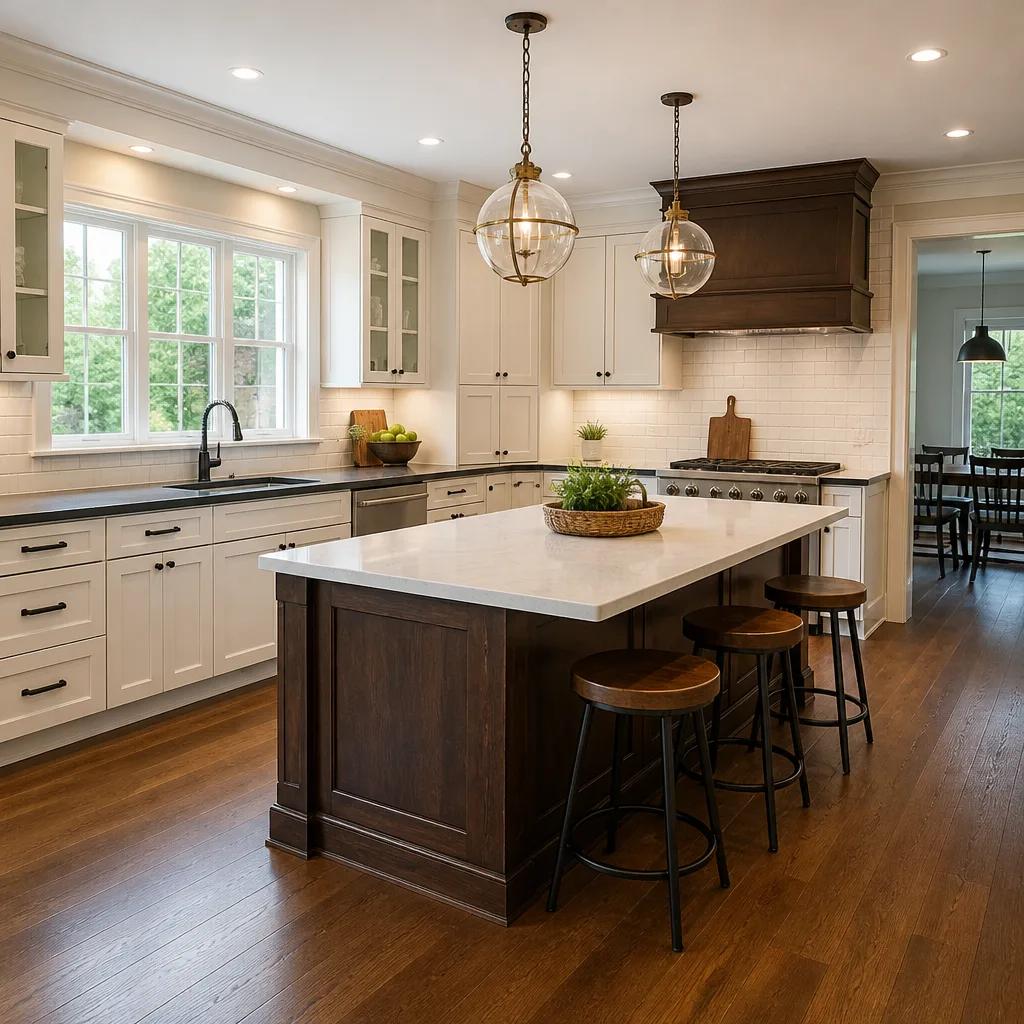 Kitchen remodeling
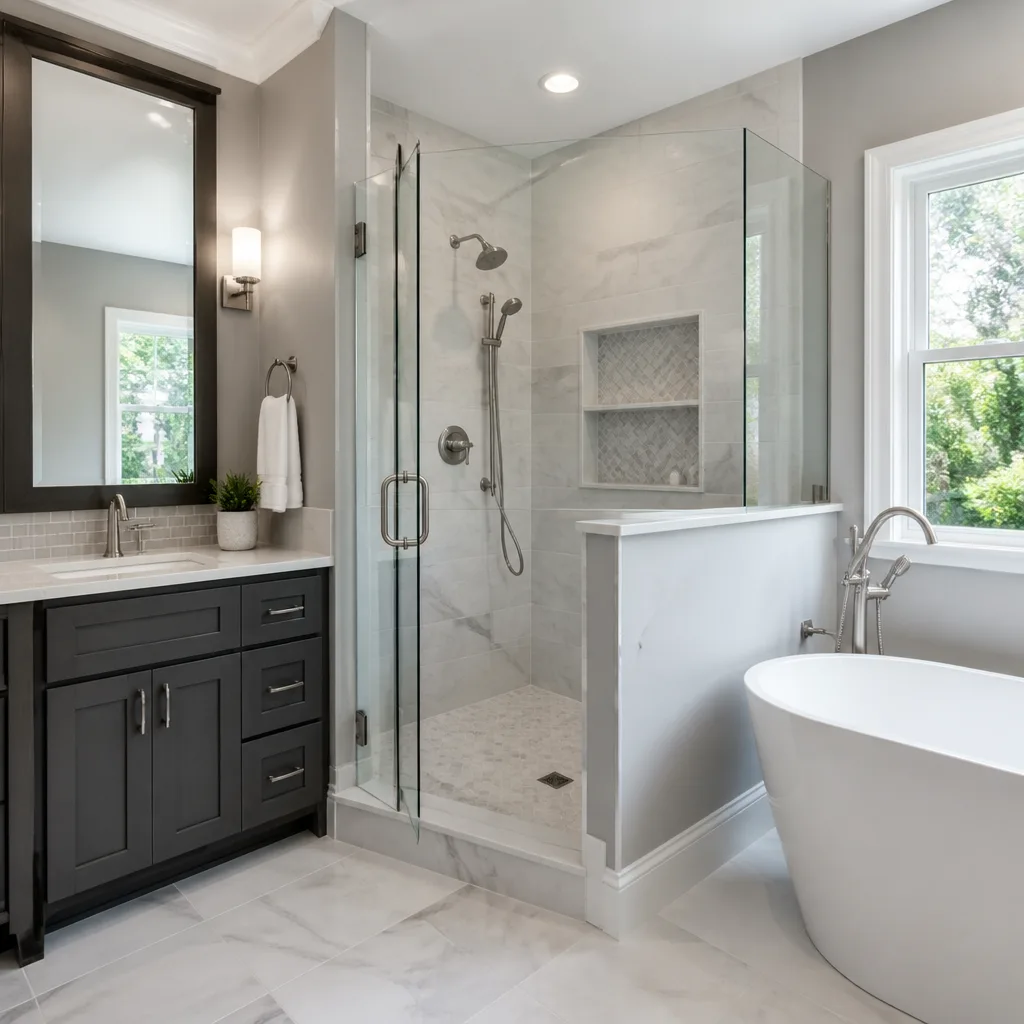 Bathroom remodeling
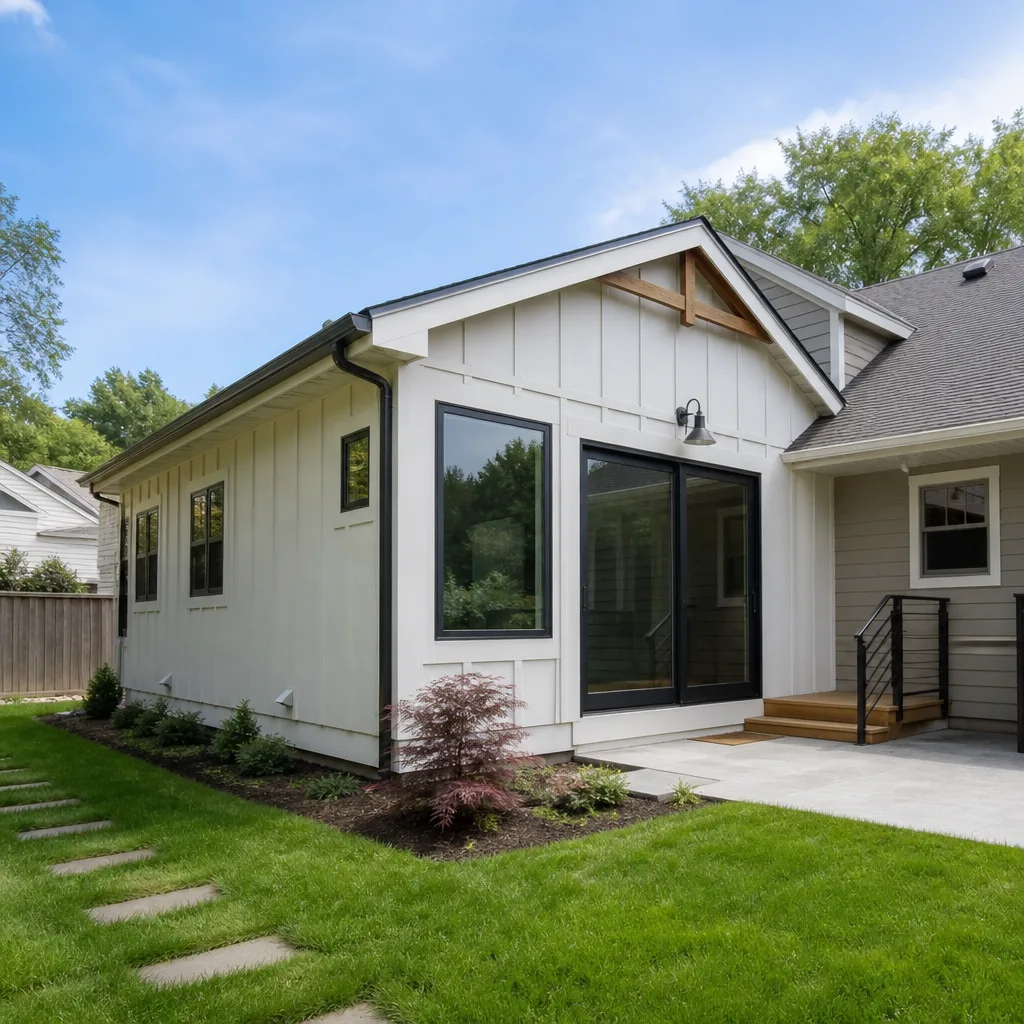 Home additions & ADU
 Roofing
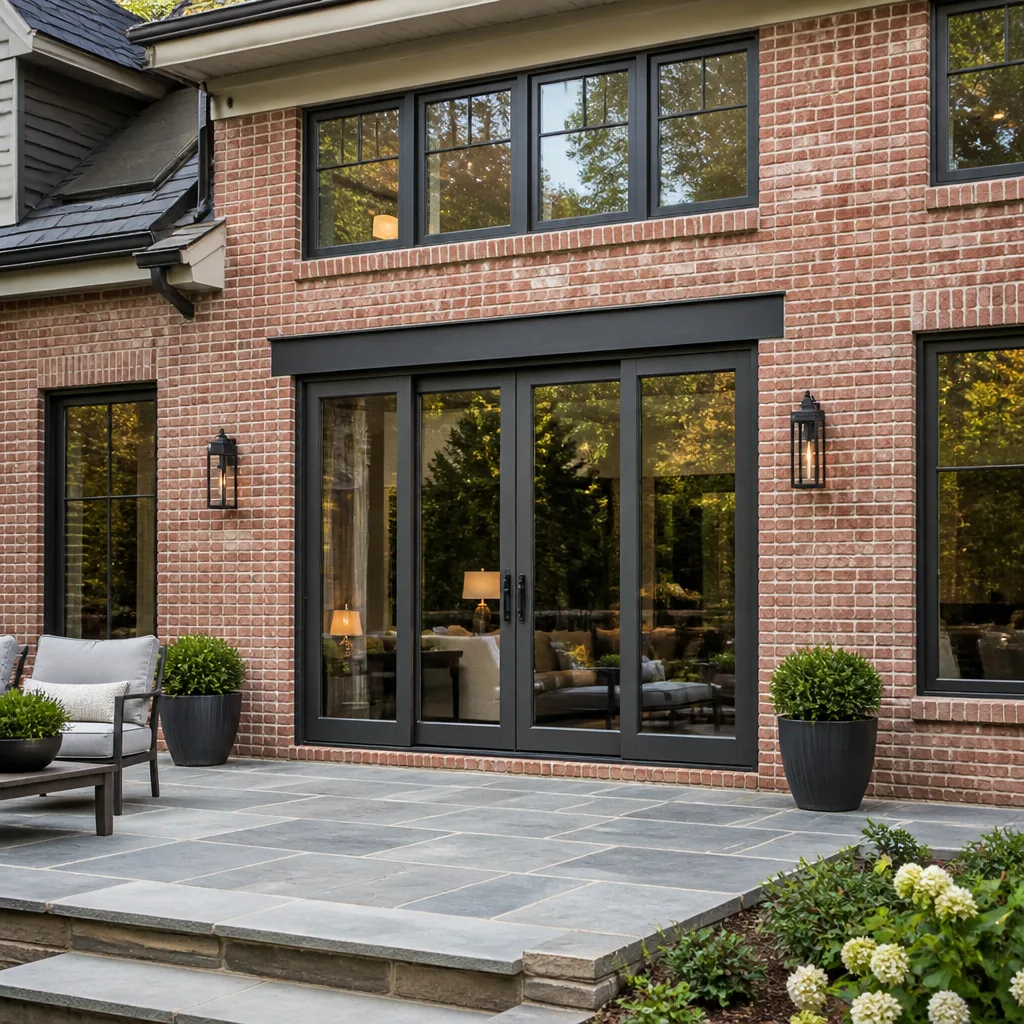 Windows & doors
 Driveway & pavers
 Fence
Free written scope consultation - allowances, timeline, and change-order rules on paper before a single trade is scheduled
How to Hire a Construction Contractor in The Hammocks: A Step-by-Step Guide
The Florida Department of Business and Professional Regulation revoked or suspended more than 1,000 contractor licenses in a recent 12-month span, and in Miami-Dade, unlicensed work can void your homeowner’s insurance and leave you footing the bill for mandatory demolition. That’s the part nobody tells you at the kitchen showroom. Choosing a contractor here isn’t a shopping decision – it’s a due diligence exercise, and the shortcuts (skipping license verification, accepting a vague scope, picking on price alone) routinely cost homeowners more than the project itself. This guide gives you a repeatable vetting process built for The Hammocks, from pulling a Certificate of Competency to reading a payment schedule like a lender would.
Quick Answer
To hire a construction contractor in The Hammocks, verify both the state license and the Miami-Dade County Certificate of Competency, demand a written scope of work (not just a price), structure payments around completed milestones instead of a big deposit, and confirm the workmanship warranty in writing before you sign. The best bids are specific, itemized, and tied to a guarantee you can hold the contractor to.
Styles & brands we work with
- Kitchen remodeling
- Bathroom remodeling
- Home additions & ADU
- Roofing
- Windows & doors
- Driveway & pavers
- Fence
Table of Contents
- Step 1: Verify the License and the Certificate of Competency
- Step 2: Demand a Written Scope of Work
- Step 3: Spot Post-Storm Red Flags Specific to South Florida
- Step 4: Structure a Payment Schedule That Keeps Everyone Honest
- Step 5: Read the Workmanship Warranty Before You Sign
- Step 6: Compare Three Bids the Right Way
- Step 7: Get the Project Started Without Surprises
- Common Mistakes to Avoid
Step 1: Verify the License and the Certificate of Competency
In The Hammocks, a state contractor’s license isn’t the whole story. Miami-Dade County requires its own Certificate of Competency for many trades, and that certificate is what allows a contractor to pull permits inside the county. A contractor can hold a valid state license and still lack the local certificate – and if they can’t pull the permit, the job stalls, or worse, you end up as the owner-builder of record and inherit the liability.
Here’s how to verify, step by step, in about ten minutes:
- Ask for the contractor’s state license number and the Miami-Dade Certificate of Competency number in writing, on the bid.
- Look up the state license on the DBPR website (myfloridalicense.com). Confirm the license is “Active,” not “Delinquent” or “Suspended,” and check the complaint history.
- Confirm the county certificate through Miami-Dade’s contractor licensing portal. Make sure the certificate covers the specific scope you’re hiring for – a certificate that covers roofing doesn’t automatically cover a full kitchen remodel.
- Ask for the certificate of insurance (general liability and workers’ comp) directly from the insurance agent, not a photocopy from the contractor.
- Call the city or county building department and ask whether permits for your address have been pulled before work begins. If the contractor pushes back on this, walk away.
The state license indicates the contractor met a minimum competency threshold. The county certificate determines whether they can legally do the work in your jurisdiction. You need both, and you need to see them on paper. In The Hammocks, we regularly see homeowners who checked the state license and stopped there, then discovered mid-project that the crew couldn’t pull a Miami-Dade permit without the local certificate.
If you’re unsure whether a specific project requires a permit, the answer is almost always yes for anything structural, electrical, plumbing, roofing, or major addition work. For a look at how a full addition flows through permitting here, see our guide to Home Additions & ADU in The Hammocks.
Step 2: Demand a Written Scope of Work
A price quote is not a scope of work. This distinction is the single most important thing to understand in this entire guide, and it’s the one most homeowners skip. A quote says “$28,500 for kitchen remodel.” A scope says exactly which cabinets (KraftMaid, in a specific door style), which countertop material and thickness (a Cambria quartz, edge profile specified), which faucet and sink, whether the old cabinets are hauled away, whether the drywall is patched, who handles final cleaning, and what happens if the cabinet delivery is delayed.
Why does this matter for disputes? Because when a disagreement arises – and on a multi-week job, something always comes up – the written scope is the document that determines who’s right. If your scope says “KraftMaid Sheridan maple in canvas” and the contractor installs a generic cabinet, you have a written claim. If your quote just says “cabinets included,” you have an argument you probably won’t win.
A proper scope of work for a The Hammocks project should include:
- Materials, specified by brand and model. Not “tile” but a specific tile, size, and grout color. Not “windows” but a specific window line and glass package – if you’re replacing impact windows in a post-Andrew-era home, that matters enormously for wind rating.
- Quantities and dimensions. Linear feet of counter, square footage of flooring, count of outlets and fixtures.
- Inclusions and exclusions. Explicitly state what’s not covered. “Painting excluded” is fine – as long as it’s in writing before you sign.
- Change order process. How a change gets priced, who approves it, and how long the project pauses to accommodate it.
- Timeline with milestones. Not just a final completion date, but the sequence: demo week 1, rough-in week 2, drywall week 3, and so on.
- Permit responsibility. Who pulls the permit, who pays the permit fee, who schedules the inspection.
Get this in writing, get it signed, and keep a copy. A contractor who resists putting detail in writing is telling you something about how they’ll behave once the deposit clears.
Step 3: Spot Post-Storm Red Flags Specific to South Florida
After every named storm, South Florida sees an influx of out-of-town contractors chasing insurance-funded work. Some are legitimate. Many aren’t. The pattern is well documented: a truck with out-of-state plates, a persuasive pitch about “storm damage” you may not have noticed, a request for a large deposit or the insurance check signed over, then a crew that disappears before the final inspection. These operators know exactly how to look legitimate – they’ll have a website, a printed brochure, and a magnetic sign on the truck.
Specific red flags to watch for on any bid, especially in The Hammocks where storm-related roofing and window work is constant:
- A pitch within 24 hours of a storm you didn’t call for. Door-knocking itself isn’t disqualifying, but pressure to sign “today because the price goes up tomorrow” is.
- Request for the insurance check to be signed over. The homeowner should be the one depositing the check and paying the contractor in stages. Never endorse your insurance proceeds to a contractor up front.
- No physical business presence to verify. A P.O. box and a cell number is a warning sign. Legitimate contractors can produce a business tax receipt, a certificate of insurance from the agent, and a verifiable business address.
- Bid includes “deductible waiver” or “we’ll cover your deductible.” That’s insurance fraud in Florida, and you can be liable for it.
- Vague timeline with no subcontractor names. In post-storm surges, contractors scramble to find crews. Ask who the actual installers will be and whether they’re background-checked.
- No permit mentioned. Replaced roofs without permits won’t pass inspection and can cause problems when you sell.
We’ve seen bid packets in The Hammocks that looked polished – logo, letterhead, the works – but couldn’t produce a Miami-Dade Certificate of Competency when asked. The presentation was the product. The paperwork behind it was thin. Verify the paperwork; the presentation is easy to fake and the license isn’t.
Step 4: Structure a Payment Schedule That Keeps Everyone Honest
Payment structure determines incentive alignment. A contractor who collects 50% up front and 50% at completion has no financial reason to finish on time once that first check clears. A contractor who gets paid as milestones are completed has every reason to complete them – and to do them right so the inspection passes.
Here’s a payment schedule that keeps the contractor’s interest aligned with yours:
- Deposit: 10% to 15% max, upon signing and scheduling. This covers initial material ordering and mobilization. Never pay more than a small mobilization amount before work begins. Florida law caps certain deposits on residential work – check the current requirements.
- Milestone 1: 25% to 30% at rough-in completion. Tied to specific, inspectable progress (framing complete, plumbing rough-in done, electrical rough-in inspected).
- Milestone 2: 25% to 30% at the next defined milestone. Drywall, cabinetry set, or whatever the scope defines.
- Final payment: 10% to 15% held until final walkthrough and permit close-out. Hold it until every punch-list item is done and the final inspection has passed.
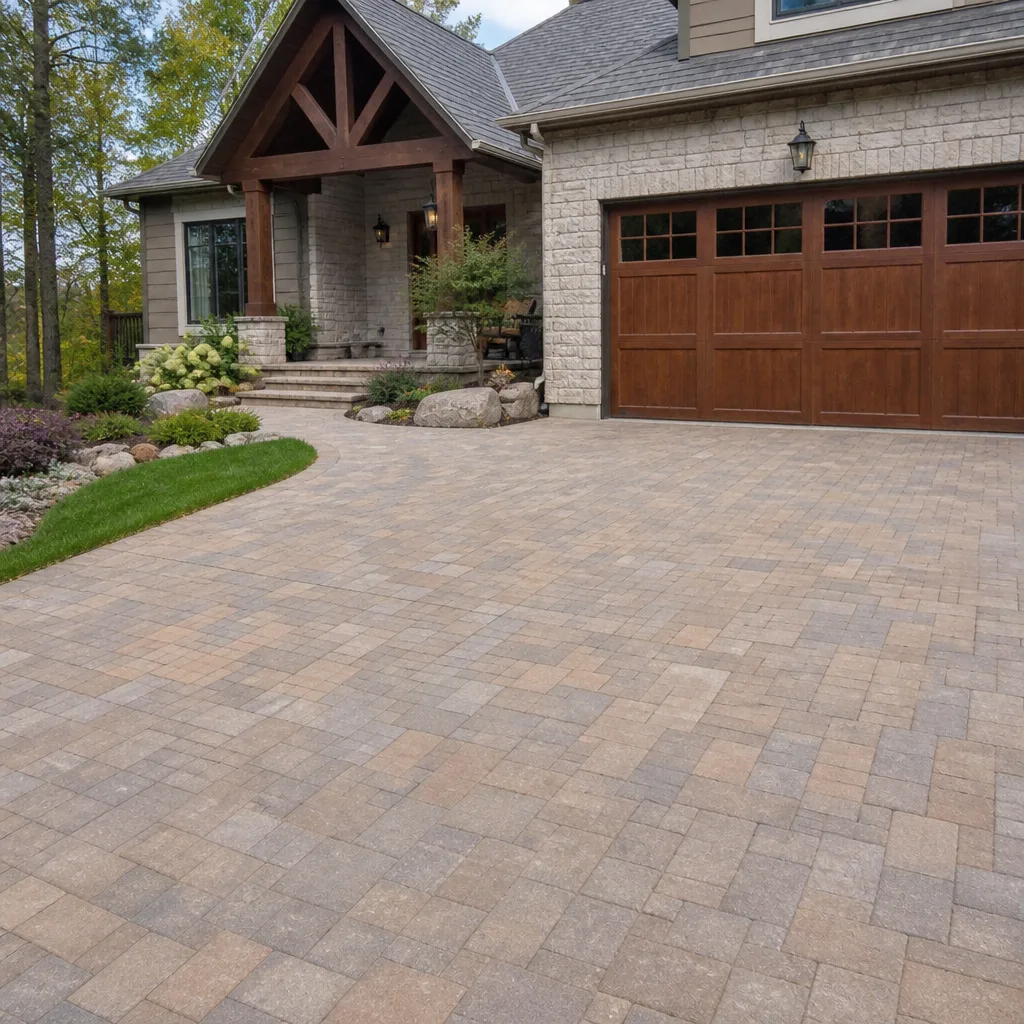
Insist that no payment is made for work not yet done. And ask what happens to the deposit if the contractor can’t start on the scheduled date – legitimate contracts have a provision for it. For a project like a driveway or paver install, the payment schedule is usually shorter but the principle holds: the final hold is your leverage for the punch list. Our page on Driveway & Pavers in The Hammocks walks through how those milestone structures typically work.
A contractor confident in their work will accept a home-favorable payment schedule without argument. A contractor who pushes for 50% down or wants the full amount on day one is telling you they need your money to fund someone else’s project.
Step 5: Read the Workmanship Warranty Before You Sign
One year is the industry standard for workmanship warranties. Some contractors offer less. But what a warranty actually covers, and what you have to do to collect on it, varies enormously – and a warranty that only covers materials (already covered by the manufacturer) isn’t a workmanship warranty at all.
Ask these questions before you sign:
- How long does the workmanship warranty last? One year is common. Anything notably longer than that is a signal of confidence – and a real operating cost the contractor is willing to absorb.
- What’s covered? Labor, materials, or both? If the tile cracks due to improper installation, is that covered? If the roof leaks due to a bad flashing detail, is that covered?
- What voids it? Some warranties void if you (or another contractor) do any subsequent work in the area. Ask about this specifically before you hire someone else for future work.
- Is it transferable? If you sell the home, does the warranty survive? A transferable warranty is a selling point when you list.
- How do you file a claim? A phone number and a documented process – not a verbal promise. Get the claims process in writing.
A 730-day workmanship warranty – two full years – says something different than a one-year warranty. It says the contractor has enough confidence in their crews and their materials to stake two years of potential callback costs on the work. That’s not a marketing claim; it’s an operating cost backed by real crews who have to deliver. When you’re comparing bids, the warranty term should be in the comparison alongside price, not on a separate page you’ll read after you’ve already signed. For a closer look at how this plays out in one of The Hammocks’ most active remodel categories, our Groundwork Construction Co. of The Hammocks home page is the starting point.
Step 6: Compare Three Bids the Right Way
Comparing bids by bottom-line price is the fastest way to pick the wrong contractor. The lowest bid is often the lowest because something was left out of the scope – and you’ll discover what once work has started and change orders have been signed. Compare bids on scope, not just price.
Here’s a side-by-side framework to compare three bids fairly:
- Line-item comparison. Put each bid’s line items side by side. Look for items present in two bids and missing in one. The missing item is either a budget trick or an honest scope exclusion – either way, get it clarified in writing.
- Brand and spec comparison. If bid A includes a GAF roofing system and bid B includes an unspecified “30-year shingle,” they’re not the same bid even if the price is close. Ask every bidder to specify brands.
- Warranty and payment comparison. Two bids can have identical scope and price and completely different risk profiles based on warranty length and payment schedule.
- Reference calls. Call two references from each bidder – one from a job completed within the last year, one from a job at least three years old. The recent one tells you about current crew quality. The older one tells you about how warranty callbacks get handled.
- Site visit observation. How does the contractor conduct themselves during the estimate? Do they measure? Do they take photos? Do they ask questions about your goals, or do they just quote a number? A site visit that consists of a quick walkthrough and a number by text message is not an estimate.
The middle bid is often the right bid – not because the middle is always correct, but because the lowest bid frequently reveals a scope gap and the highest bid occasionally reveals a padded sales process. Look at what each bid actually commits to. For a window replacement in The Hammocks, for example, a bid that specifies ES Windows or CGI impact-rated products with a defined glass package is a fundamentally different product than a bid that says “hurricane windows.”
Step 7: Get the Project Started Without Surprises
The handshake moment – contract signed, deposit paid – is where most of the surprises actually show up. Manage the start carefully and you eliminate most of them.
Before the first day of work on any The Hammocks project, confirm:
- The permit is pulled and posted. The permit number should be on a visible placard at the job site. If your contractor says “we’ll pull it later,” that’s not how it works.
- The final scope and any change orders are countersigned. Any verbal change discussed during bidding needs a written change order before that piece of work begins.
- The schedule is in writing and shared. Which days the crew is on-site, which days are inspection or delivery days, and what the completion milestone is.
- A point of contact is named. You should know who to call for scheduling questions and who to call for emergency issues. That number should be answered by a live person, not routed to a voicemail box that returns calls in three days.
- The punch-list process is defined. When does the final walkthrough happen? Who signs the punch list? How are items tracked to completion?
During the project, document everything. Photograph the site before, during, and after each major phase. Keep every text message and email. If a change is discussed, confirm it in writing the same day. The homeowners who have the cleanest warranty claims and the fewest disputes are the ones who kept good records from day one.
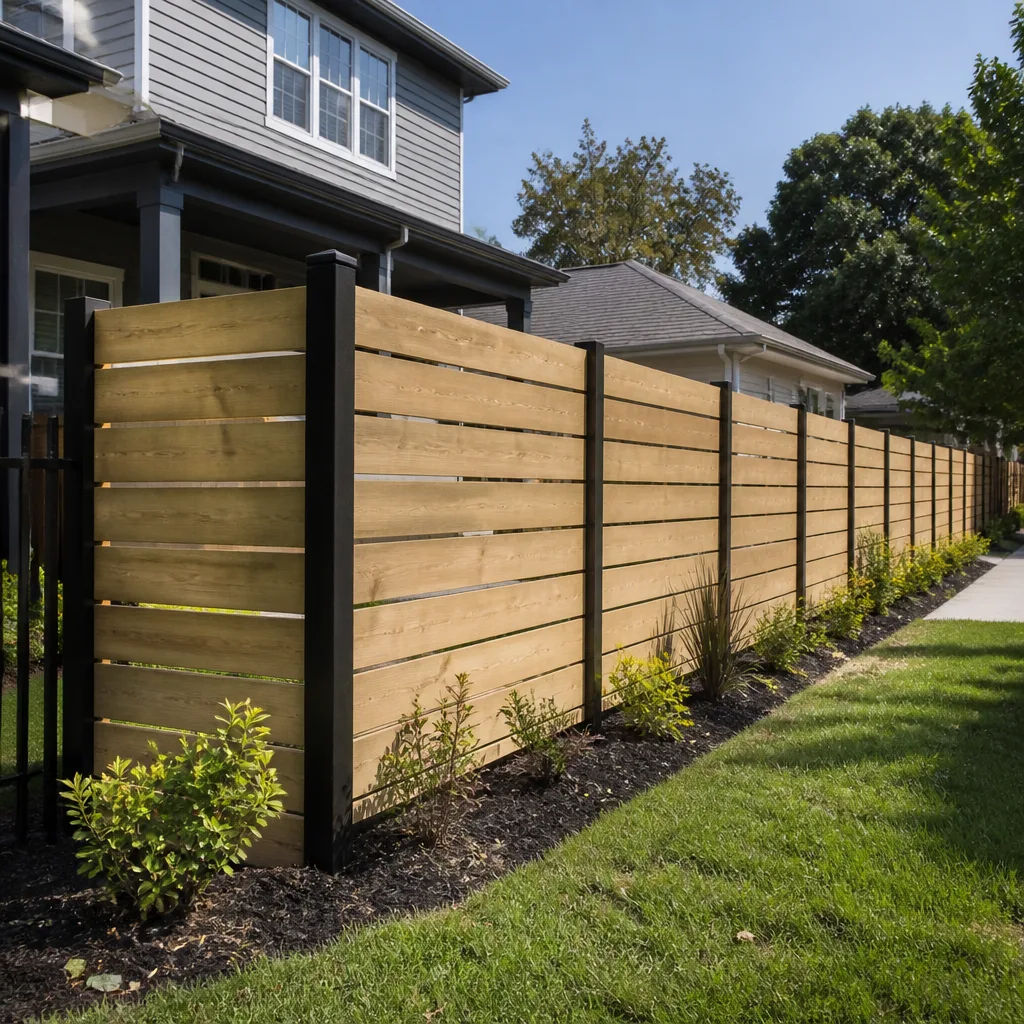
For projects like a new fence where material durability matters in The Hammocks’ heat and humidity, our guide to Fence Installation in The Hammocks walks through what to specify in the scope before work begins.
Common Mistakes to Avoid
- Hiring on price alone. The lowest bid wins the job and loses the homeowner more often than the reverse. If two bids differ by 30%, ask why – there’s a scope difference behind that number almost every time.
- Accepting a vague scope “because they seemed trustworthy.” Trust is earned, and paperwork is how contractors who are trustworthy demonstrate it. A detailed scope protects you both.
- Paying a large deposit. Anything over 15% before work begins, in most cases, is money you don’t have leverage over. Push back hard on a contractor who insists on 50% down.
- Skipping the county Certificate of Competency check. The state license isn’t the whole story in Miami-Dade. A contractor without the county certificate can’t legally pull permits for the work in The Hammocks.
- Choosing a contractor from a storm-surge pitch without verification. Out-of-state crews that arrive after a hurricane often leave before the final inspection. Verify before signing.
- Reading the warranty after the job is done. The warranty determines what happens in year two when the flashing fails. Ask about it before you sign, not after the leak.
- Not keeping records. Photos, texts, emails, signed change orders – these are the evidence that wins disputes. Homeowners who don’t keep records lose claims they should have won.
When to Call a Professional
Some work in a home is genuinely DIY-friendly: painting a room, replacing a faucet, hanging a ceiling fan. Most construction work is not. If your project involves moving or removing walls, running new electrical or plumbing, roofing, windows in a windborne-debris region, structural changes, or any addition to the footprint of the home, you need a licensed, insured contractor. The failure modes on those categories – water intrusion, structural compromise, permit issues at sale – are expensive to fix and easy to prevent. In The Hammocks’ climate, an improper window install becomes a water-intrusion problem fast, and a bad flashing detail on a roof shows up as interior damage months later.
Groundwork Construction Co. of The Hammocks offers free estimates in The Hammocks – call (844) 761-9356. Our technicians have up to 12 years of experience, every project is covered by the 730-Day Done Right Promise, and every estimate is written line by line with the brands specified, so you know exactly what you’re pricing.
See the difference
 Before
 After
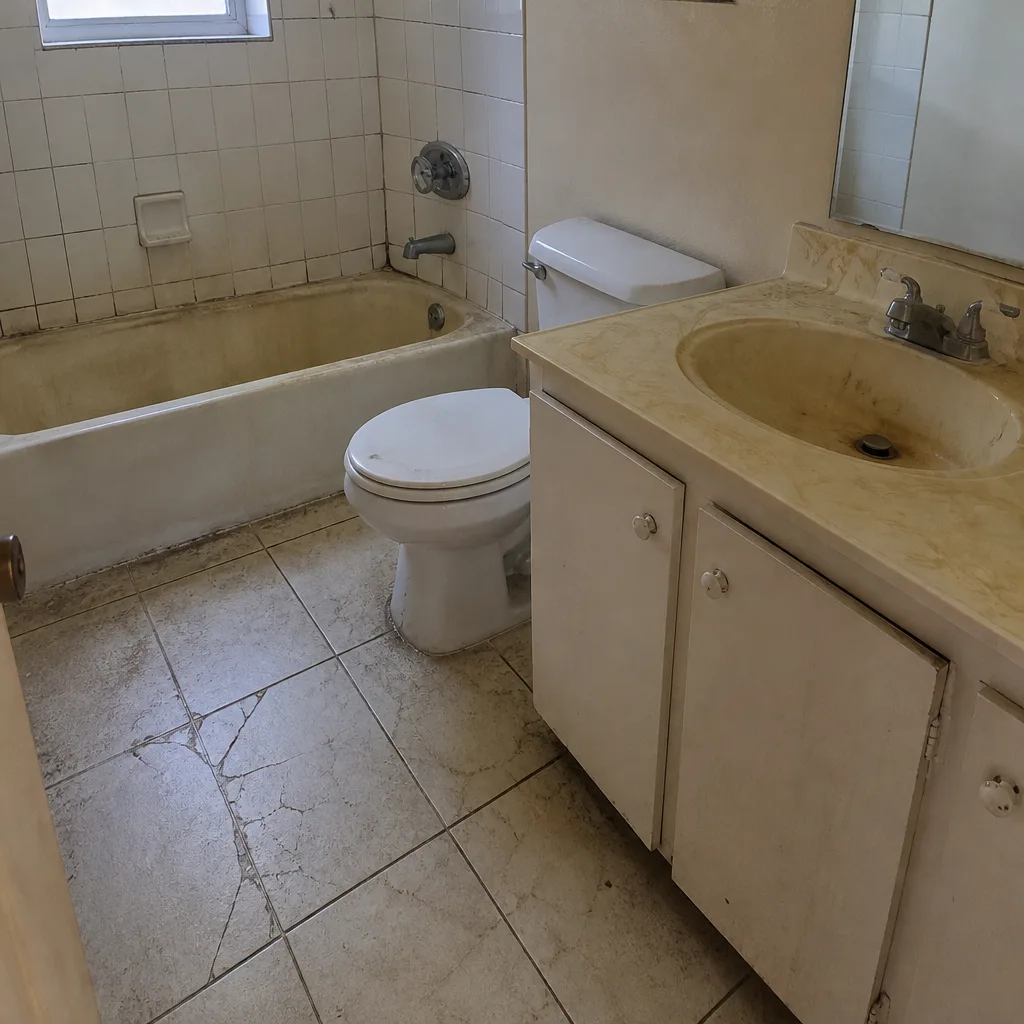 Before
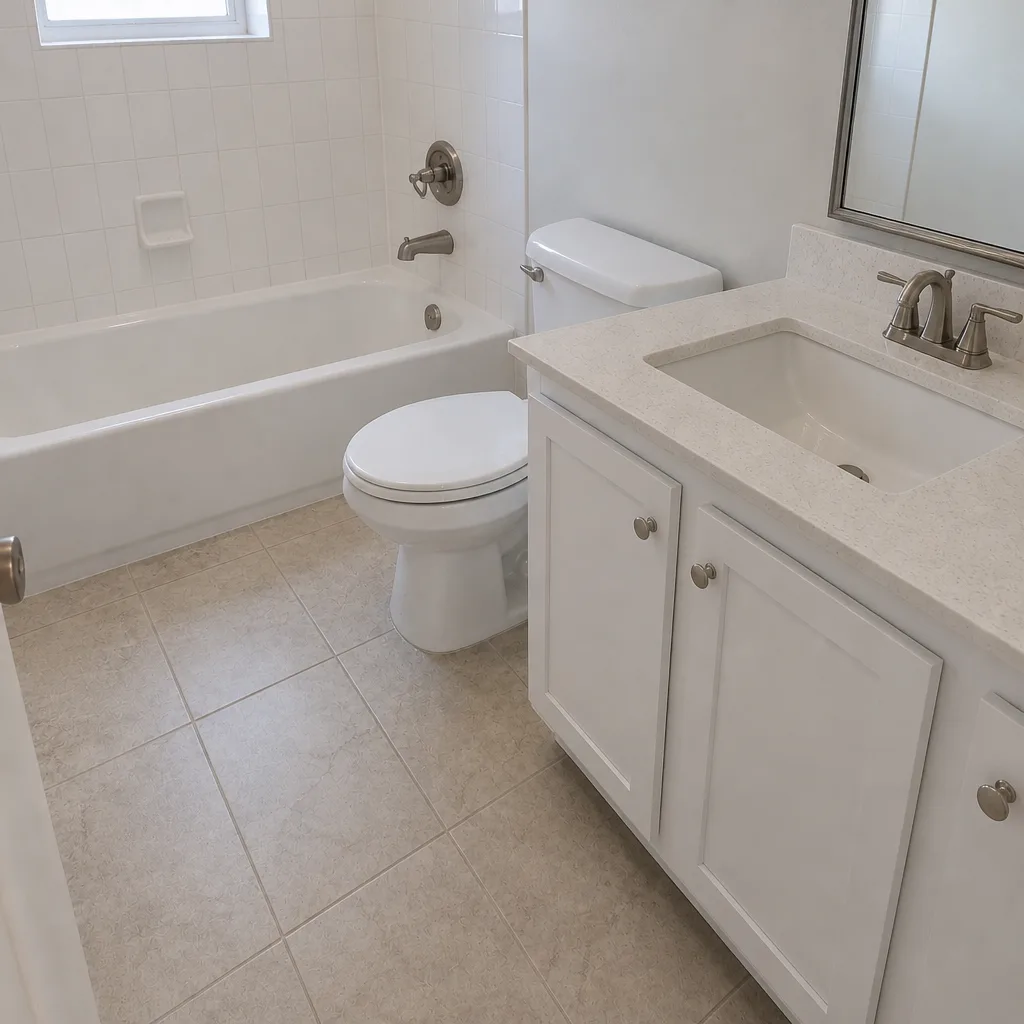 After
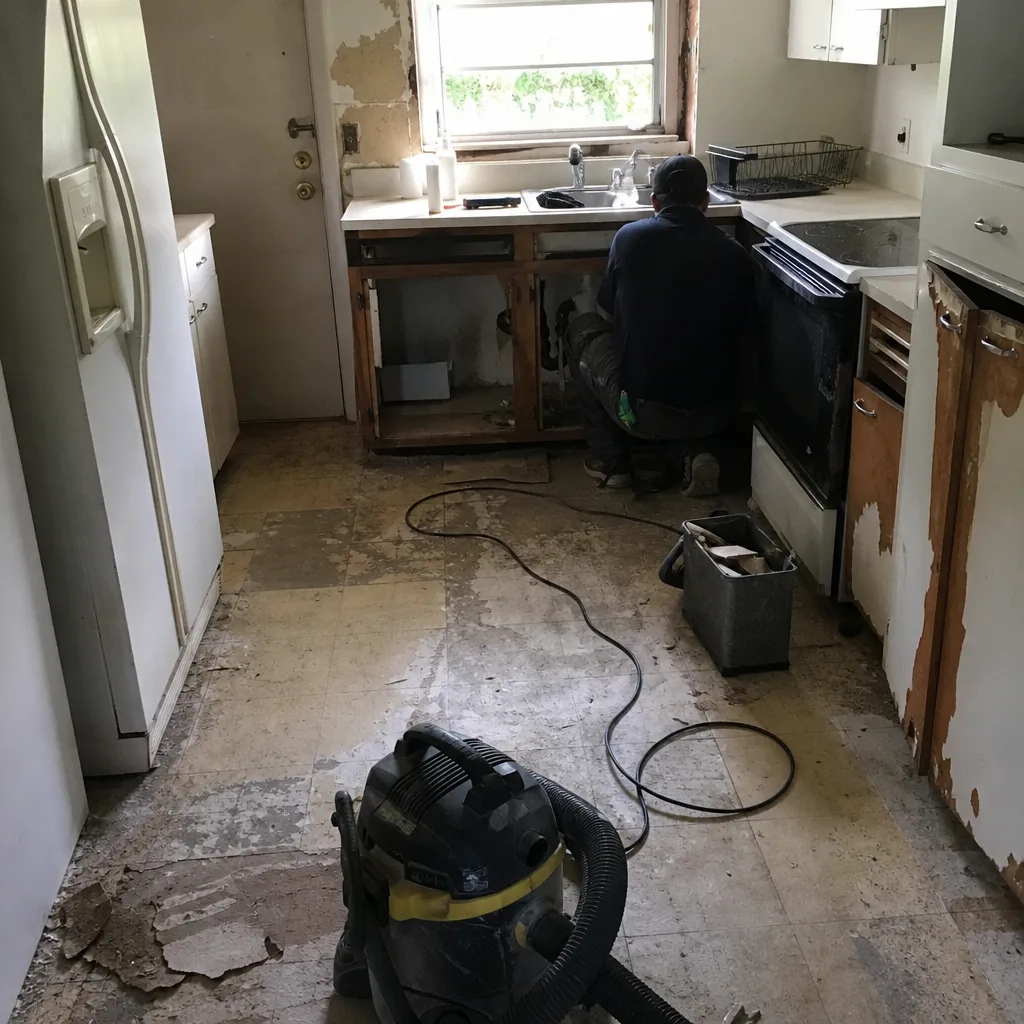 Before
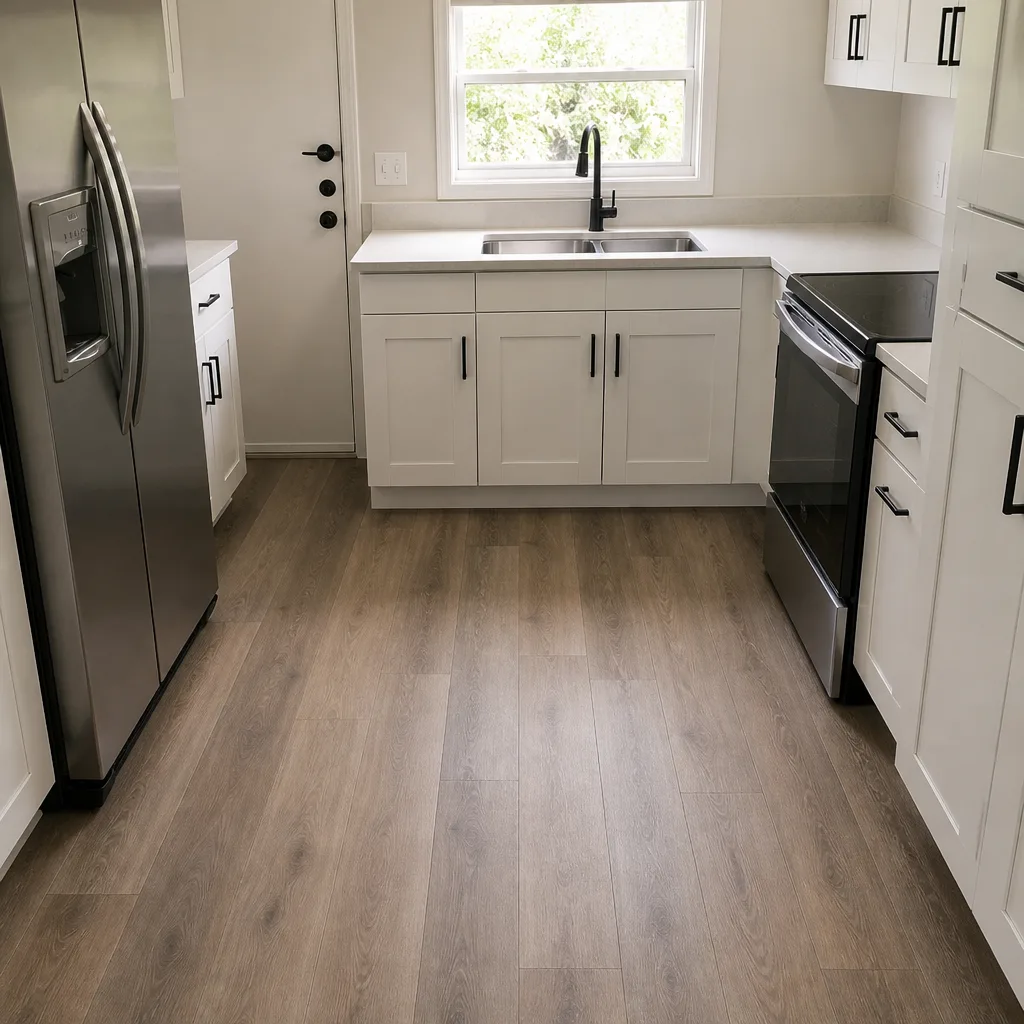 After
Frequently Asked Questions
Ask the contractor for the certificate number in writing on the bid, then verify it through Miami-Dade County’s contractor licensing portal. Confirm the certificate is active and that it covers the scope you’re hiring for, since a certificate that covers roofing doesn’t necessarily cover a kitchen remodel. Also ask for the certificate of insurance directly from the contractor’s insurance agent. Call (844) 761-9356 for a free estimate with all credentials provided in writing.
Kitchen remodeling in The Hammocks typically runs from about $22,000 for a moderate refresh (new cabinets, counter, and backsplash with existing layout) to $65,000 or more for a full gut with layout changes and premium brands like KraftMaid and Cambria. The biggest swing factors are cabinet brand, countertop material, whether plumbing and electrical are moved, and whether permits and inspections are required. Call (844) 761-9356 for an exact quote – estimates are free and itemized.
It shouldn’t, if the scope is written correctly. Price changes come from two sources: change orders (you asked for something different, which is expected and fine) and scope gaps (the contractor missed something, which is their problem, not yours). The way to prevent mid-project price shocks is a detailed written scope with brands and quantities specified before you sign. Our upfront pricing means the number you see is the number you pay; estimates are free at (844) 761-9356.
Yes. Permit responsibility is one of the things we define in the written estimate for any The Hammocks project – who pulls the permit, who pays the permit fee, and who schedules the inspections. Unpermitted work in Miami-Dade can void insurance and cause problems at sale, so it’s not something we shortcut. Call (844) 761-9356 to confirm permit scope for your specific project.
A 730-day workmanship warranty covers two full years of workmanship defects instead of the industry-standard one year. That means an additional 12 months of protection for issues like tile cracking, roof flashing failures, and cabinet installation problems that show up in year two. Ask specifically whether it covers labor, materials, or both, and what voids it. The 730-Day Done Right Promise is our written commitment on every project – call (844) 761-9356 to see a sample.
Timeline depends heavily on scope and permitting. A bathroom typically runs 3 to 5 weeks, a kitchen 6 to 10 weeks, and a home addition or ADU 4 to 6 months depending on permitting and inspection cycles. Miami-Dade permitting is a real variable, so get a schedule with milestones in writing. Call (844) 761-9356 for a timeline estimate specific to your project.
The Bottom Line
Hiring a contractor in The Hammocks comes down to three documents: proof of license and county certificate, a detailed written scope, and a workmanship warranty you’ve actually read. Get those in hand and compare bids on scope, not price. Structure your payments around completed milestones so the contractor’s financial incentive tracks with your project’s completion. Skip any of those steps and you’ll rely on luck – which, in this market, is the most expensive thing you can do. Do the diligence, hold the paperwork to a real standard, and you’ll hire well.
Contact
If you’re ready to move from research to an actual plan, call Groundwork Construction Co. of The Hammocks at (844) 761-9356 for a free estimate. We answer live around the clock, our technicians have up to 12 years of experience, and every project is backed by the 730-Day Done Right Promise. Upfront pricing, written line by line, with the brands specified before you sign – from foundation to finish line.
Written by the team at Groundwork Construction Co. of The Hammocks.