
Last updated November 17, 2026
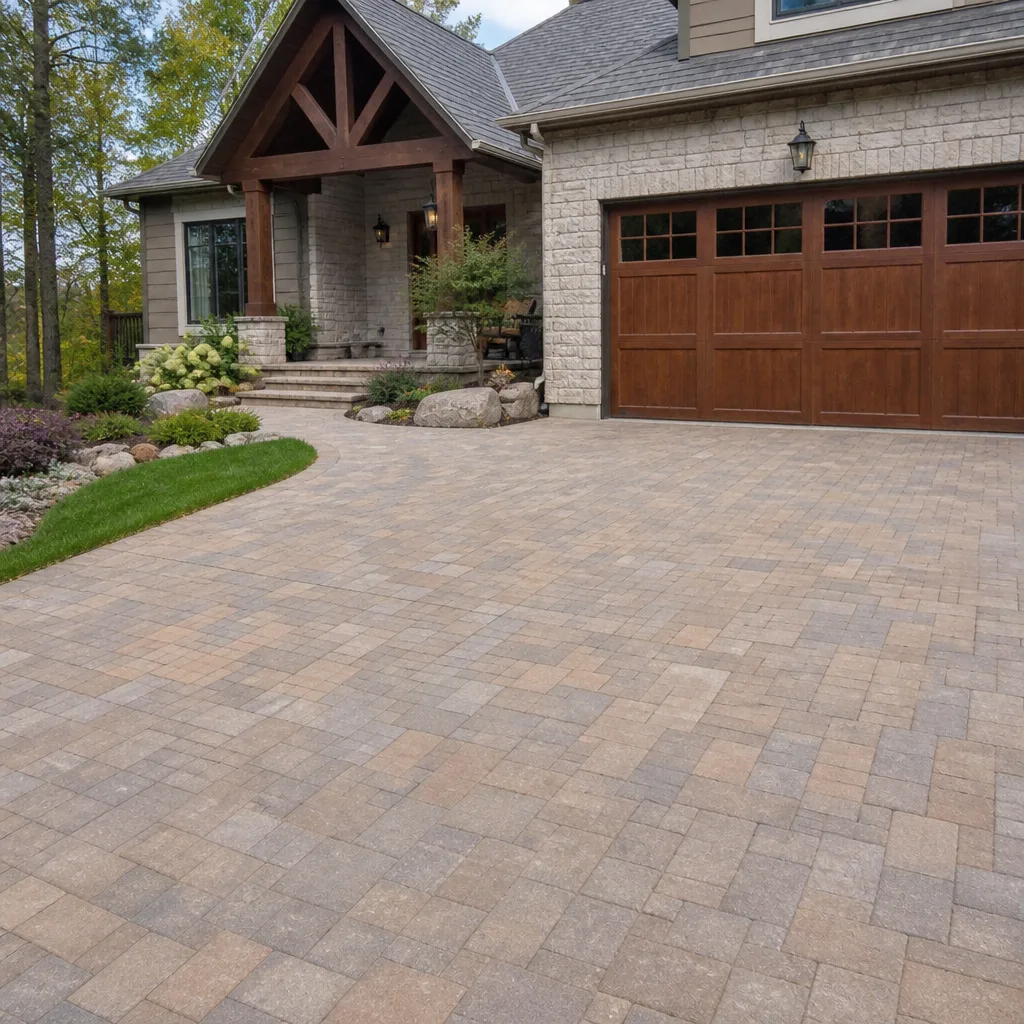 Driveway & pavers
 Kitchen remodeling
 Bathroom remodeling
 Home additions & ADU
 Roofing
 Windows & doors
 Fence
Free written scope consultation - allowances, timeline, and change-order rules on paper before a single trade is scheduled
Driveway & Pavers Maintenance Checklist for The Hammocks Homeowners
A paver driveway that looked perfect at installation can develop structural voids within 18 months in The Hammocks. Not because of poor installation, but because nobody told the homeowner what to do after the contractor drove away. That’s the part of the story nobody covers: the work after the work. South Florida’s wet season, its UV load, and the aggressive root systems in Hammocks landscaping finish off driveways that were never maintained on a schedule. This guide walks through the bi-annual checklist, the seasonal timeline, the sealer specs that actually hold up here, and the signs that mean a problem has moved past DIY.
Quick Answer
In The Hammocks, paver driveways need joint sand replenishment once a year before June, a full sweep-and-inspect every six months, and re-sealing every 3 to 5 years with a UV-stabilized breathable sealer. Most failures are sub-base settling and joint sand washout, not surface wear. Catch them in under 30 minutes twice a year and you avoid the $4,000 – $12,000 rebuild that follows.
Styles & brands we work with
- Kitchen remodeling
- Bathroom remodeling
- Home additions & ADU
- Roofing
- Windows & doors
- Driveway & pavers
- Fence
Table of Contents
- Why Pavers Fail in The Hammocks (and It’s Not Foot Traffic)
- The Wet Season Timeline: What to Do Before June
- How to Tell Sub-Base Settling From Surface Wear
- Which Sealers Work Under South Florida UV and Which Don’t
- Root Pressure From Common Hammocks Landscaping
- The Bi-Annual 30-Minute Inspection Checklist
- Joint Sand: The Cheapest Fix Most Homeowners Skip
- Common Mistakes to Avoid
- When to Call a Professional
- Frequently Asked Questions
Why Pavers Fail in The Hammocks (and It’s Not Foot Traffic)
The paver surface you walk on is not the structure. Underneath it sits a compacted aggregate base, usually 4 to 6 inches of crushed limestone, sitting on native soil. In The Hammocks, that native soil is a mix of Miami-Dade limestone and sand with a high water table. It drains fast when it’s dry and saturates fast when it rains. During the June-through-October wet season, The Hammocks gets roughly 40 inches of rain, and most of it lands in that five-month window.
Here’s the counterintuitive part: heavy foot traffic and vehicle weight rarely cause failure. Three things do the damage in The Hammocks:
- Standing water. Water that pools on the driveway surface finds its way into the joints, flushes out the joint sand, and erodes the bedding sand underneath. That erosion is what creates voids.
- Root pressure. The trees and shrubs that make Hammocks yards look good push roots under the edge restraints and, over years, lift individual pavers or bow the perimeter.
- UV degradation. The South Florida sun breaks down the polymeric binders in joint sand over time. Where the sand used to lock tight, it now crumbles. One good rainstorm and it’s gone.
All three are predictable. All three are slower-moving than most homeowners realize. That’s the good news: the checklist that catches them takes less time than a Sunday morning. Groundwork Construction Co. runs driveway and pavers work across The Hammocks, and the calls we get that end in full replacement almost always trace back to one of these three causes that nobody caught in year two.
If you want the full scope of what a driveway project looks like in this market, our Driveway & Pavers in The Hammocks page covers install, materials, and the local sub-base specs. This guide is what happens next.
The Wet Season Timeline: What to Do Before June
Treat the May-to-June transition as your one hard deadline of the year. Every maintenance task that matters should be done before the first sustained rain arrives. Here’s the sequence we recommend for The Hammocks homeowners:
- Mid-April: full sweep and inspection. Clear the driveway of all debris and do the 30-minute inspection outlined below. Note every crack, every rocker, every stained paver.
- Late April: joint sand replenishment. Top up joint sand across the whole driveway, not just the low spots. If you use polymeric sand, make sure the application day is dry with no rain forecast for 24 hours.
- Early May: check drainage. Walk the perimeter after a normal rain and note where water sits more than 20 minutes. Standing water that doesn’t clear is a grading problem, not a paver problem.
- Mid-May: root and edge restraint check. Walk the boundary between the driveway and any landscaping bed. If you can slip a finger under a paver edge, there’s a void forming.
- June through October: minimal intervention. Do not seal during the wet season. Too much humidity, too much risk of trapped moisture. Spot-fix loose pavers only when absolutely needed.
- November: post-season resets. This is the best window for annual re-sealing. Humidity drops, the surface dries fully, and the sealer cures clean.
Why does sealing in the wet season matter so much? Breathable sealers need to cure within a specific moisture range. In The Hammocks, applying sealer in July means a 100% humidity ceiling, overnight condensation, and a finish that can cloud, tack up, or bond unevenly. We’ve seen seal jobs done in August that had to be stripped and redone the following month. Skip the summer window entirely.
Doing the moving? If you’re making other improvements alongside the driveway, fence work follows a similar seasonal logic. Our Fence Installation in The Hammocks page covers the same timing pressure from a different angle.
How to Tell Sub-Base Settling From Surface Wear
This is the single most important diagnostic skill a driveway owner can develop. Surface wear is cosmetic. Sub-base settling is structural, and it gets more expensive every month you don’t address it.
Surface wear signs (cosmetic):
- Faded color, especially on south-facing pavers
- Minor efflorescence (white haze)
- Scuff marks, tire transfer, small surface chips
- Joint sand thinning but pavers still sitting tight
Sub-base settling signs (structural):
- A paver that rocks when you step on one corner (a “rocker”)
- Visible depressions or birdbaths where water pools for more than 20 minutes after rain
- Gaps opening up along the edge restraint or the garage apron
- Pavers that have dropped below the level of the adjacent ones, creating a lip you can feel with your shoe
- Sunken joints that hold moisture long after the rest of the driveway has dried
- A crack that runs across multiple pavers in a straight line (not one paver cracking under a tire)
Here’s the test. Fill a bucket with water and pour it slowly into a low spot on your driveway. If it drains within 5 to 10 minutes, the joint sand and sub-base are functioning. If it’s still there after 20 minutes, water is finding something other than a proper drainage path. That’s the moment to call for a professional inspection, not after the void has swallowed a 4-foot section.
In our experience working The Hammocks, the settling that looks worst is almost never the settling that is worst. A single rocker near the garage door might just be one paver. A subtle 1-inch dip in the center of the driveway usually means 15 to 20 square feet of failed base underneath. The surface tells you nothing the base isn’t saying louder.
Which Sealers Work Under South Florida UV and Which Don’t
Walk into any big-box store in The Hammocks and you’ll find a shelf of sealers labeled “paver sealer.” Half of them were formulated for a Midwestern climate with a fraction of this UV load and none of the wet-season humidity. They underperform here in a specific, predictable way: they break down 2 to 4 years sooner than their rated life.
Here’s what works in The Hammocks:
- Water-based acrylic sealers with UV inhibitors. These are the standard for South Florida. They breathe, they hold up to the sun, and they don’t trap moisture coming up from the sub-base. Look for a product specifically labeled for UV exposure, not just “exterior.”
- Penetrating siloxane sealers. These soak into the paver surface rather than sitting on top, so they don’t build a film that can haze or peel. Best for homeowners who want to keep the natural look and avoid the “wet look.”
- Solvent-based acrylics (for high-traffic zones only). More durable finish but higher VOC and harder to apply evenly in the humidity. Worth it for a commercial-grade result on a heavy-use driveway.
What to skip:
- Any film-forming sealer labeled for cold climates. It will haze in The Hammocks humidity within the first season.
- Polyurethane sealers marketed “for all climates.” They don’t breathe well enough for a sub-base that moves as much moisture as ours does.
- Anything applied over wet joint sand. Guaranteed to fail, no matter the formula.
A proper seal job done in November in The Hammocks should give you 3 to 5 years before it needs to be redone. If your sealer isn’t holding at year 3, the product was wrong or the application conditions were wrong. Two easy ways to know: does water still bead on the surface after 2 years, and does the surface feel chalky after rain? If the answer to both is no, it’s time.
Root Pressure From Common Hammocks Landscaping
The Hammocks is a landscaped community. That’s part of its character. It’s also the least-discussed reason pavers fail here. Three plant groups do the most damage:
- Ficus hedges. Popular as privacy screens along property lines, and their roots travel farther than most homeowners expect, often 15 to 20 feet laterally. When a ficus hedge runs along a driveway edge, the root pressure is nearly constant.
- Royal poinciana and similar large canopy trees. Beautiful shade, but their surface roots can lift paver edges over a 5 to 10 year span.
- Areca palms in clusters. The root mass is dense and shallow. Where palms sit close to the driveway, the soil under the edge restraint gets pushed out of the way.
What to look for:
- Perimeter pavers that have lifted 1/8 inch or more above grade over a season
- Wavy lines in the joint pattern along one side of the driveway
- Visible root crowns emerging between the edge restraint and the landscaping bed
- A paver that rocks only when the wind moves the adjacent tree
The fix at early stages is simple: root pruning by an arborist, followed by re-securing or replacing the affected edge pavers. Once the root system has been pushing against the driveway for 5 or more years, the geometry of the base has shifted and you’re looking at partial rebuild. In our experience, The Hammocks homeowners who landscape right up to the driveway edge with ficus or areca palms are the ones calling us at year 8 instead of year 15.
If a landscaping project is part of the plan, keep 3 feet of clear buffer between the paver edge and any hedge or palm cluster. That’s the simplest long-term protection you can build in.
The Bi-Annual 30-Minute Inspection Checklist
Do this in April and again in November. No tools beyond a hose, a broom, and a pair of shoes you can feel the surface through.
- Visual sweep (5 minutes). Walk the full perimeter of the driveway with a broom in hand. Clear debris, note obvious cracks, discolored pavers, or anything that looks different than the last inspection.
- Rocker check (5 minutes). Walk a slow grid pattern across every section. Step on the corner of each paver group in the busiest zones. Any paver that shifts underfoot is a data point.
- Water test (5 minutes). Pour a bucket of water across the middle of the driveway, then again in any low spot. Note how long each takes to drain. Under 10 minutes is healthy. Over 20 is a call to a professional.
- Joint sand inspection (5 minutes). Look at the joints between pavers. If the joint is more than 1/4 inch deep, the sand has washed out. If the sand crumbles when you touch it, the binder is gone.
- Edge restraint check (5 minutes). Walk the entire perimeter of the driveway, especially where landscaping sits adjacent. Look for gaps between the edge paver and the ground, lifted edges, or visible root intrusion.
- Drainage and grading check (5 minutes). Note where water enters and exits the driveway. Look for new puddling near the garage apron, along a fence line, or next to any landscape bed. Any new standing water is a grading signal.
- Photograph everything (5 minutes). Take the same photos from the same angles every six months. Comparing April to November photos is the single best diagnostic on the whole list. Things you don’t notice walking the driveway every day become obvious over eight months of photos.
Log the results. A page in a notebook, a note on your phone, anything. When you call a contractor, “the paver near the garage rocked in April but it’s been fine since September” tells them more than an hour of description ever will.
Thirty minutes, twice a year, catches nearly every problem before it becomes a structural issue. The homeowners in The Hammocks who do this are the ones whose 15-year-old driveways still look clean.
Joint Sand: The Cheapest Fix Most Homeowners Skip
Joint sand is the unsung hero of paver longevity. It’s what transfers small load movements across the driveway instead of concentrating stress on individual pavers. When sand washes out, the pavers move independently. Independent movement cracks the pavers and opens the door for weeds, water, and settling.
South Florida’s wet season takes out more joint sand per year than most climates do in five. In The Hammocks, expect to replenish roughly once a year, sometimes more if your driveway catches the summer storms straight-on and drains poorly.
How to know it’s time:
- Joint depth more than 1/4 inch below the paver surface
- Visible sand missing along the driveway edges, especially near the apron and street
- Weeds emerging from joints (a clear sign the sand is gone or the barrier layer is gone)
- Sand blowing or washing away within a few weeks of a fresh application (a sign the binder was already gone)
Polymeric sand is the right choice for The Hammocks. It’s more expensive than plain sand, but it binds and holds against rain washout in a way plain sand never will. If you re-sand in the May window before the wet season, polymeric sand gives you more months of protected joints than a fallback re-sand in July would.
That’s a small job, but every driveway failure we’ve seen in The Hammocks traces back through a chain that starts with joint sand washing out in year one and ends with a sub-base void in year four. It’s worth doing right the first time. If you’re not sure the joint sand is the whole story, our team’s Groundwork Construction Co. of The Hammocks home page has the full range of service lines if a broader project is on the horizon.
Common Mistakes to Avoid
- Sealing in the summer. It’s tempting to squeeze it in on a dry weekend in July, but the humidity in The Hammocks traps moisture under the sealer and clouds the finish. November through February is the right window.
- Pressure-washing at full pressure. Full-blast pressure washing removes the joint sand along with the dirt. Use a wide fan tip on low pressure, and plan on re-sanding if the sand was already thin.
- Touching up with generic sand between two real applications. Plain silica sand won’t bind and takes the whole job backward. Every addition should be polymeric.
- Ignoring a single rocker. One rocker near the garage door may be a single paver, but in a Hammocks driveway it’s more often the front edge of a larger void. Check it early.
- Planting ficus or areca palms within 3 feet of the driveway. The roots will be under the paver edge within 2 to 3 years and lifting them within 5. Choose landscaping with a shallower root profile near the driveway.
- Treating efflorescence as cosmetic. White haze on pavers is usually a moisture signal, not just a stain. If it returns after cleaning, water is traveling through the base and out through the paver face.
- Skipping the April inspection. The single most expensive thing a Hammocks homeowner can do is skip the pre-season walk-through and find the problem in August. Two 30-minute checks a year prevent most of it.
- Letting a contractor skip the quote in writing. Upfront pricing, in writing, before work begins is the baseline. A number spoken on the driveway is not a number.
When to Call a Professional
Call a professional when you find any of these: pavers that rock more than one year after installation, a depression that fills with water and doesn’t drain within 20 minutes, a crack that runs across three or more pavers, joints that fail within three months of a fresh re-sand, or root intrusion you can see between the pavers. Any of these signals that the base is already moving, and once the base is moving, no amount of new sand or sealer will fix it. That’s rebuild territory.
Groundwork Construction Co. of The Hammocks offers free estimates in The Hammocks. Call (844) 761-9356 and we’ll walk the driveway with you, photograph the failure points, and give you a written line-item quote before any work begins. Our technicians are background-checked and uniformed, and if we do the work, it’s covered under the 730-Day Done Right Promise. That’s a two-year-and-then-some guarantee on the repair, not just a handshake.
Frequently Asked Questions
Once a year, before the wet season starts in June. The June-to-October rains in The Hammocks wash out more joint sand than most climates do in three to five years, so annual polymeric sand replacement is the baseline. If the driveway drains poorly or catches storm runoff directly, plan on a mid-season spot check as well. Call (844) 761-9356 if you’re not sure the last application held.
November through February. That window has the lowest humidity, the most reliable dry-cure days, and the lowest risk of overnight condensation clouding the finish. Sealing in July or August in The Hammocks is a mistake most homeowners only make once. Skip the wet season entirely.
The three signals are a paver that rocks underfoot, a depression that holds water for more than 20 minutes, and a crack that runs across multiple pavers in a straight line. All three mean the sub-base has shifted and the sand layer is gone. Do the bucket test: pour water into the low spot and time how long it drains. Under 10 minutes is fine, over 20 needs a professional inspection.
You can, with the right approach. Use a wide fan tip on low pressure (under 1,500 psi), keep the wand moving, and expect to re-sand afterward because even careful pressure washing removes some joint sand. High pressure on a narrow tip will strip the joint sand down to the bedding layer and cost more to repair than the cleaning saved.
Not on its own. Weeds come from seeds landing in joints with organic material and enough depth to germinate. Polymeric sand is the actual weed barrier; the sealer protects the sand. If weeds keep returning, the joint sand has failed and needs to be replaced before any sealer is applied. That’s a repair decision, not a sealing decision.
Re-sanding runs a few hundred dollars for a typical 2-car driveway, spot repairs on 10 to 30 square feet of pavers usually run in the four figures, and full driveway replacement is significantly higher. Exact numbers depend on square footage, drainage condition, and whether root intrusion has shifted the base. Call (844) 761-9356 for a written line-item quote; estimates are free and there are never change orders after the fact.
See the difference
 Before
 After
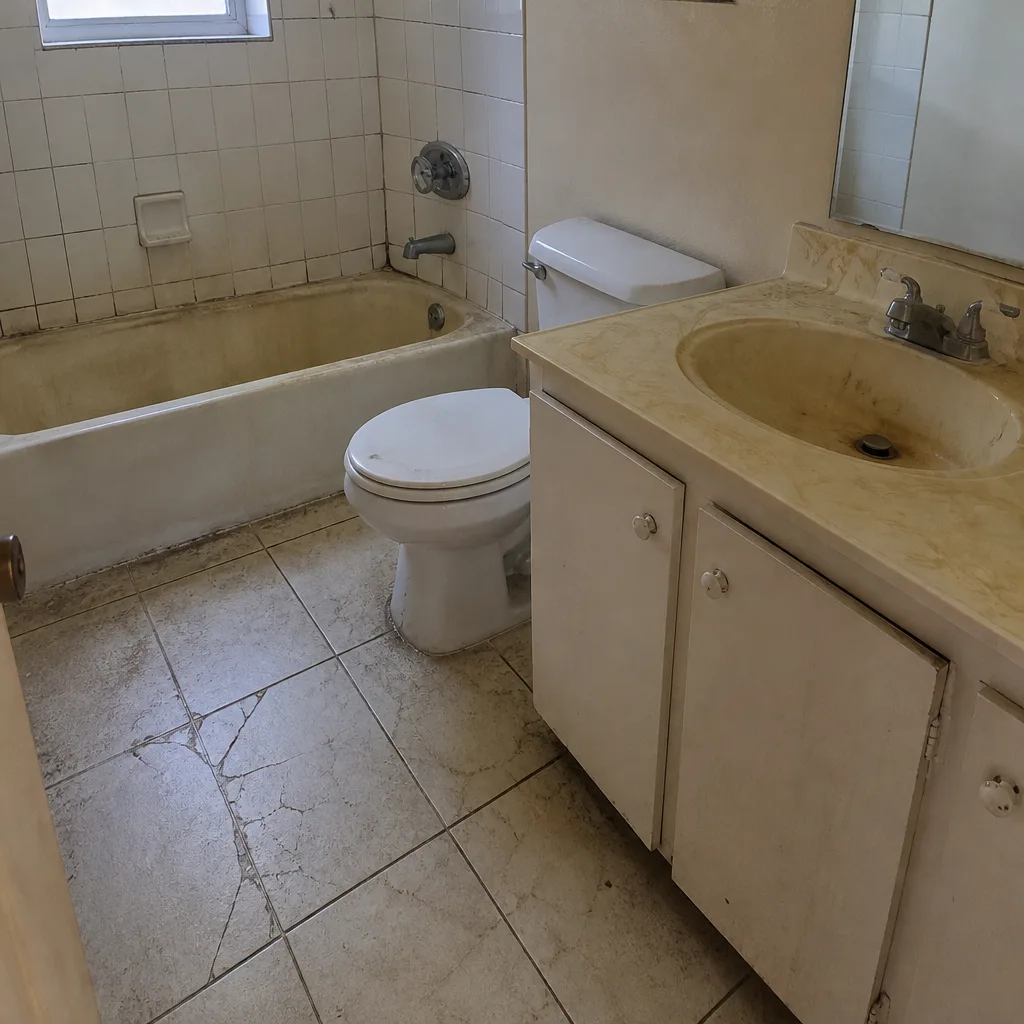 Before
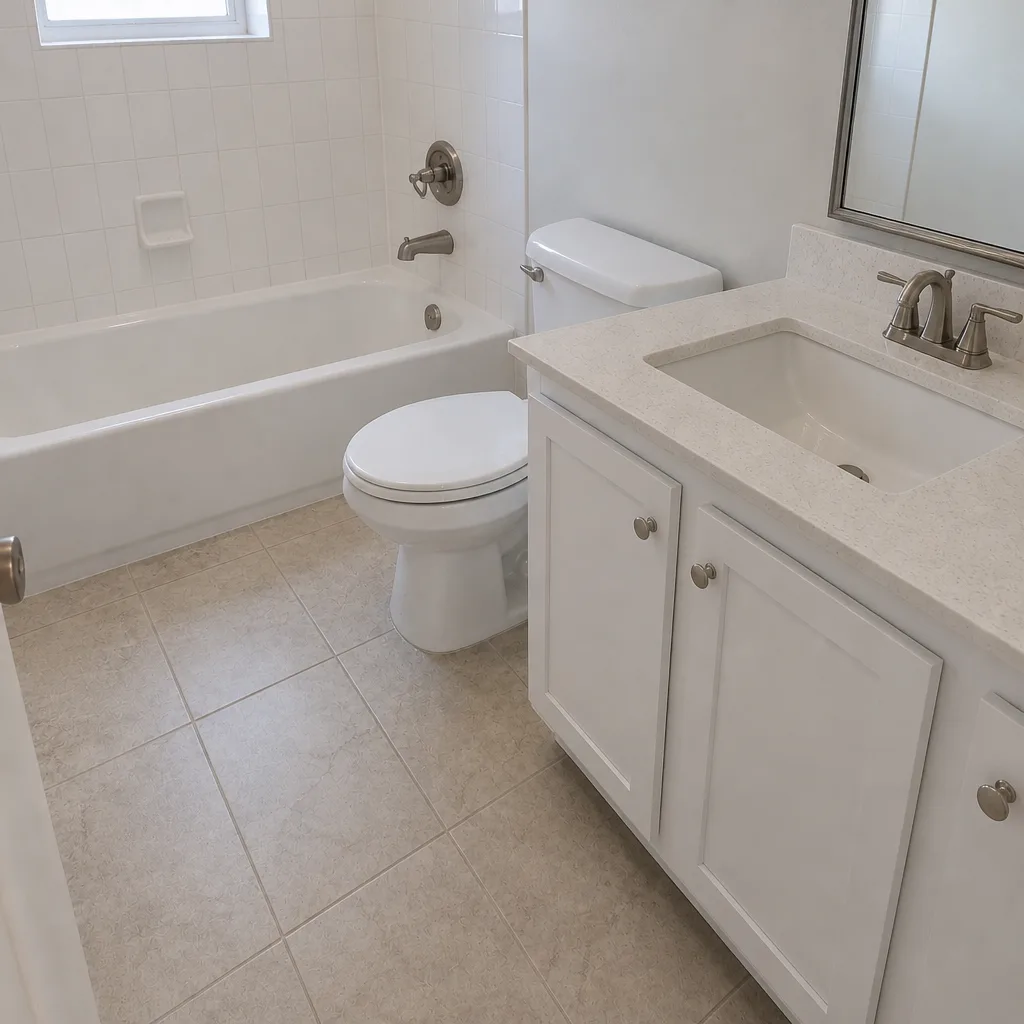 After
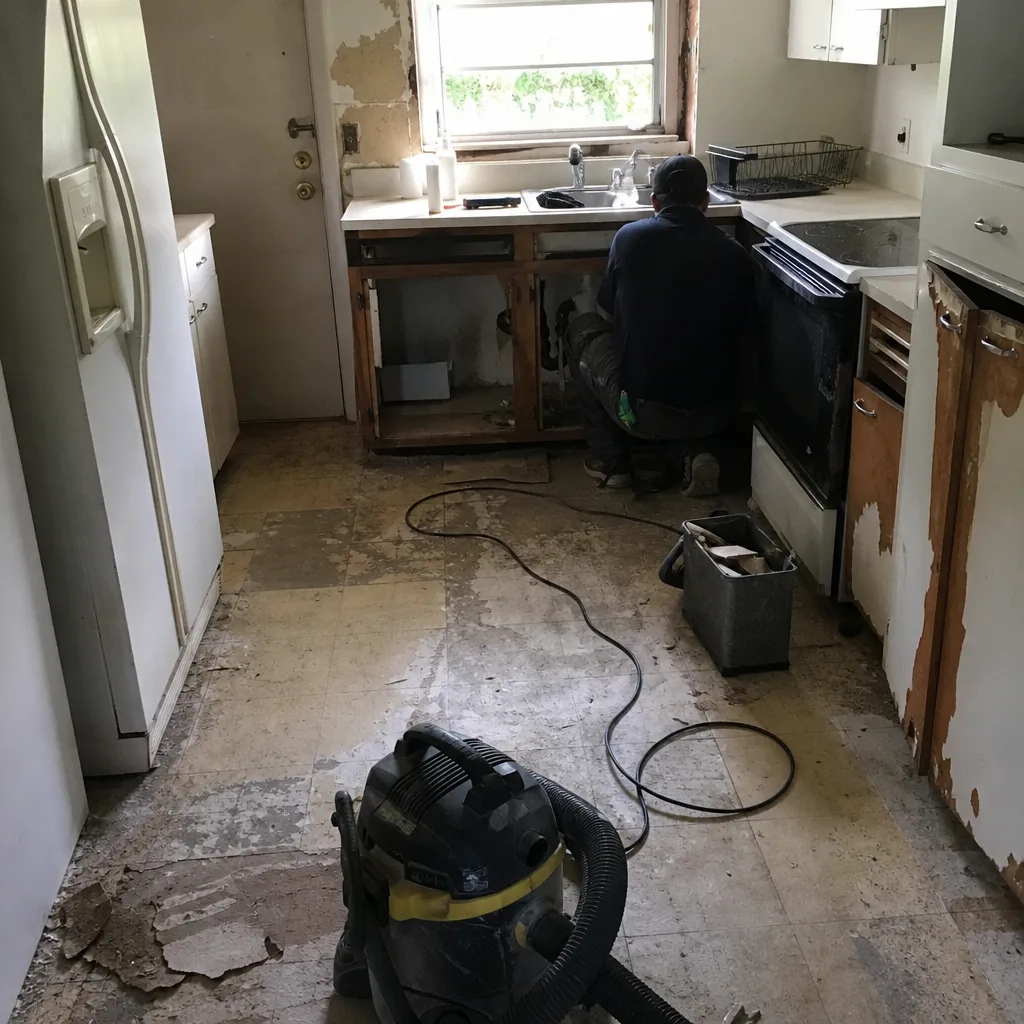 Before
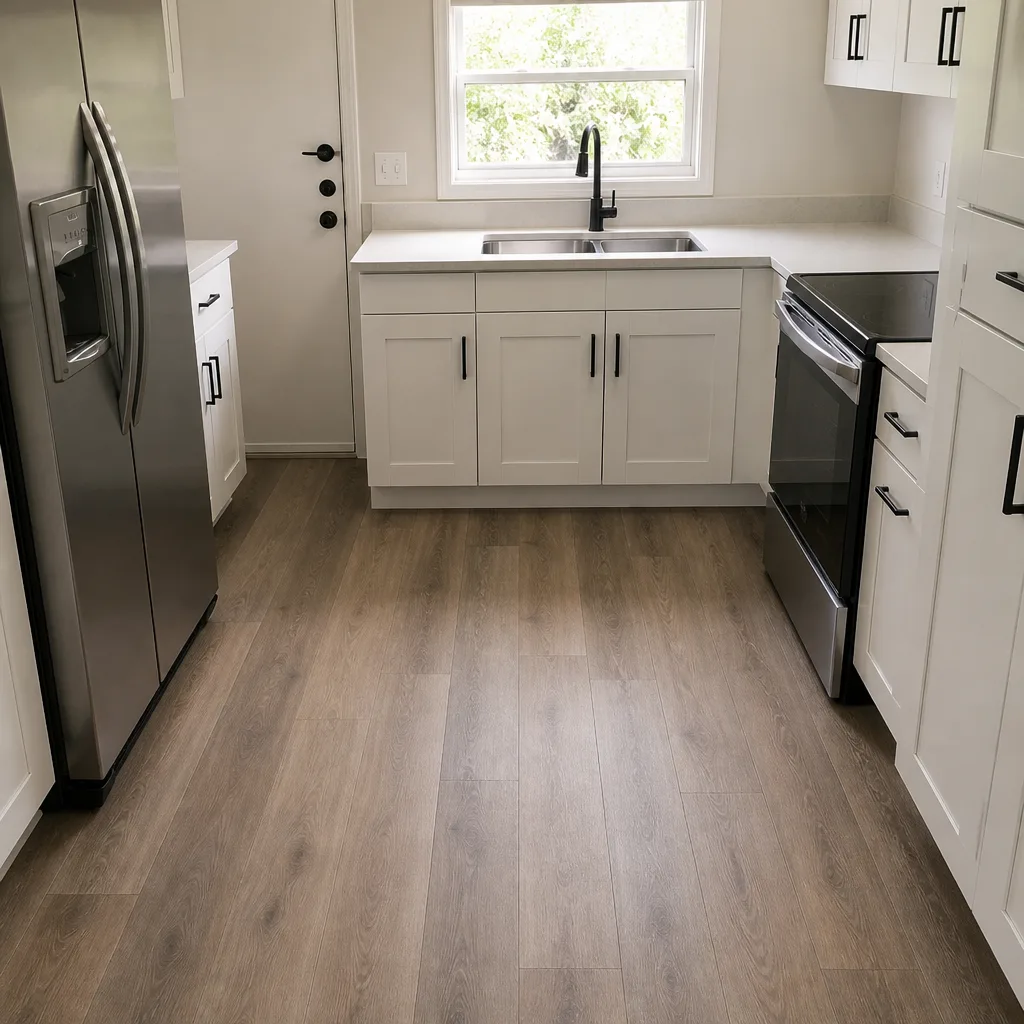 After
The Bottom Line
Paver driveways in The Hammocks don’t fail from wear. They fail from standing water, root pressure, and UV degradation that nobody tracked. The fix is not complicated: a 30-minute inspection in April and again in November, annual joint sand before the wet season, and a UV-stabilized sealer every three to five years in the cooler months. That’s it. Do those three things and your driveway easily outlives the 15-year average most of South Florida gets. Skip them, and the rebuild arrives around year eight. If your drive already shows the settling signs, don’t wait for the next inspection cycle. Call for a professional walk-through before the wet season compounds the problem.
Planning a Bigger Project Alongside the Driveway?
Driveway maintenance often overlaps with other exterior work. If a fence line needs attention where the pavers meet it, or if a detached structure is going in and the driveway has to be re-graded to it, planning those together saves both time and money. Our Home Additions & ADU in The Hammocks page covers how a new structure ties into existing hardscape. For a full walkthrough of what a new paver driveway looks like when the base is done right, call Groundwork Construction Co. of The Hammocks at (844) 761-9356 to schedule your free estimate and design consult. Live person on the line, day or night. Upfront pricing, no surprises. From foundation to finish line.
Written by the team at Groundwork Construction Co. of The Hammocks.